By Anne Deister
Basic Curved Piecing Supplies
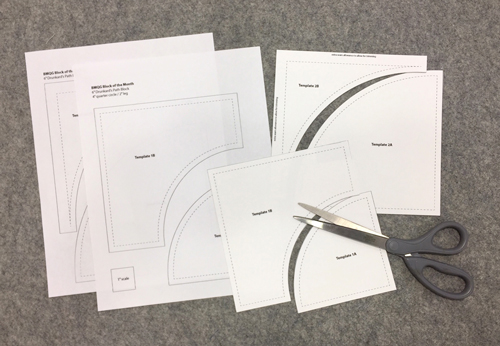
Templates. There are 2 template pages. One for each version.
Printer
Cardstock (recommended)
Paper scissors
Fabric scissors
Fabric, thread, sewing machine.
Quilters ruler and rotary cutter
Basic Curved Piecing Instructions
For the BOM, we will be using templates to make two different versions of the Drunkard’s Path block.
Version 1 is the more traditional form of the block where the quarter circle does not extend all the way to the edge of the block. It looks like this.

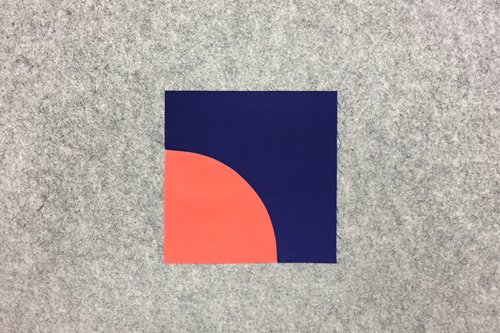
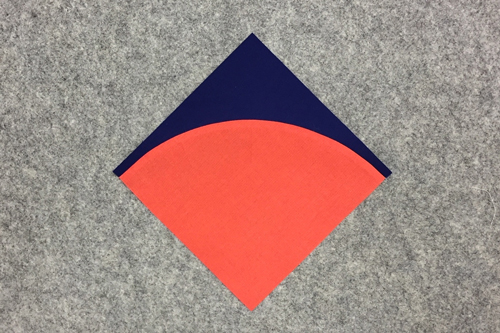
Version 2 is a quarter circle that fills the entire block. This version is made with extra background fabric and is then trimmed to size. When these blocks are sewn together, the quarter circle will go right to the edge of the block. It looks like this.

The following instructions cover the basics for making Version 2 of the Drunkard’s Path block using Template 2. The same steps are followed for Version 1/Template 1, however there is no need to trim.
Step 1 – Make Templates
Print Template 2 at 100% (be sure the 1″ scale square on the template actually measures 1 inch when printed. Some printers don’t print a true 100%. Carefully cut out the templates on the printed lines.
Step 2 – Trace Templates onto Fabric
Transfer template shapes onto fabric by tracing around the templates using a pencil or pen. These lines will not show so don’t worry about what pen you use as long as you can see the marks.
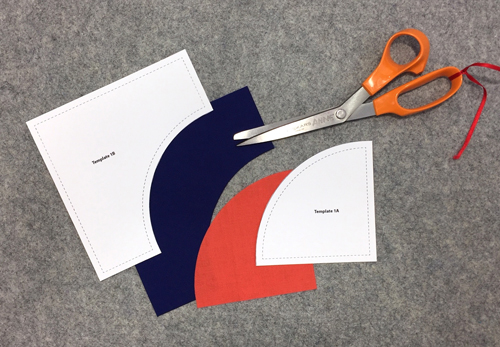
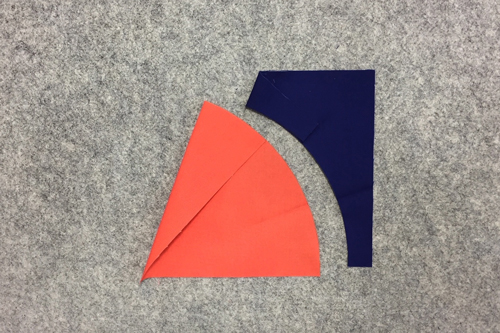
Step 3 – Cutting Instructions
Using scissors or a rotary cutter, cut both template pieces from your fabric.
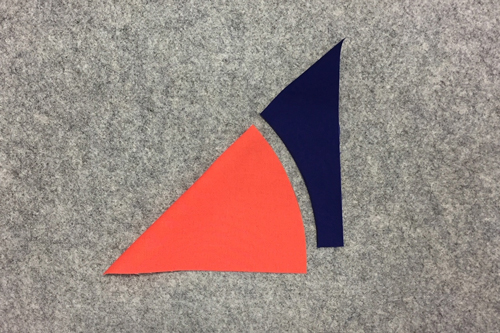
Step 4 – Marking/Pinning
Fold both the quarter circle and leg pieces in half to make a crease in the middle. Finger press or use an iron so you can easily see the crease.
Make two additional creases by folding each end in to match the crease in the middle.
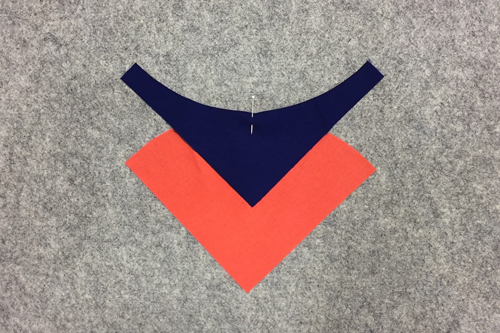
With the quarter circle on the bottom, position the background piece on top, right sides together, aligning the center crease marks. Pin in place.
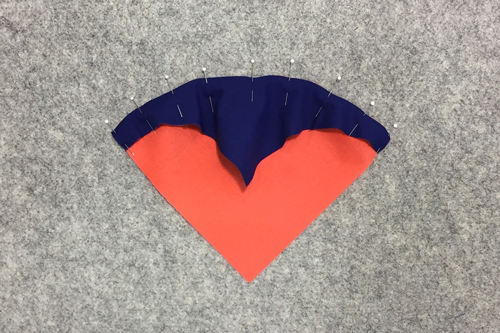
Match the other two crease marks and pin in place. Match the ends and pin in place. Add additional pins if you want. I prefer to add another pin in between each crease.
Step 5 – Sewing
With the background piece on top, sew using a scant 1/4″ seam allowance. Take it slow and ease around the curve. Lift your presser foot if necessary to smooth the fabric to avoid taking tucks. Press the seam toward the quarter circle for Template 2.
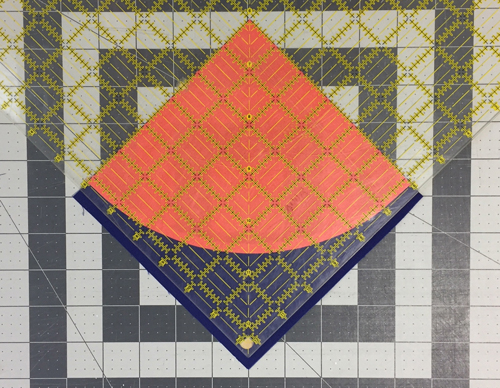
Step 6 – Trimming
For Version 2, trim to 6.5″ by aligning your ruler so there is a 1/4″ allowance beyond the edge of the curve.
Repeat the same steps for Template 1. This block is to size with no additional trimming needed.
The finished trim size should be 6.5″.