
Single Flying Goose Block Tutorial
Single Flying Goose Block Tutorial

By Laura Loewen
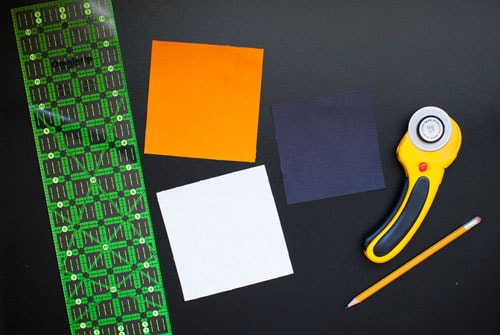
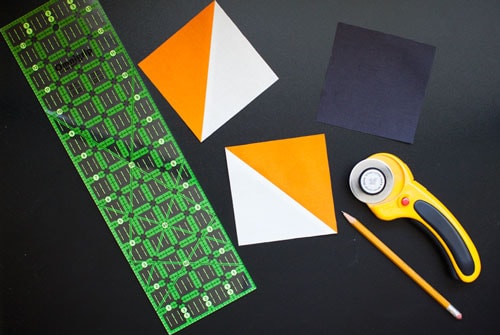
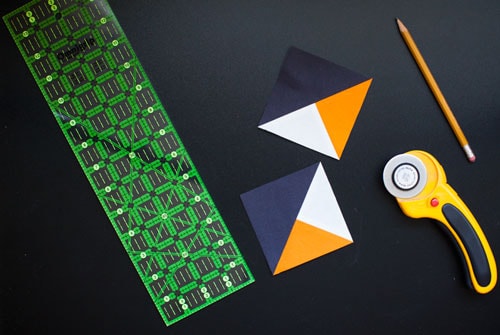
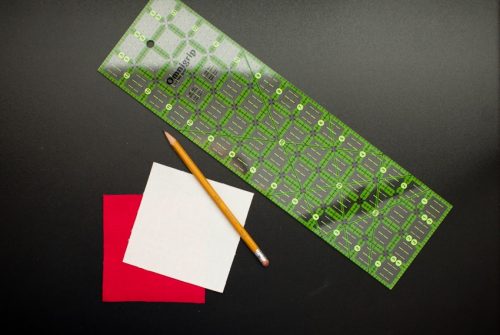
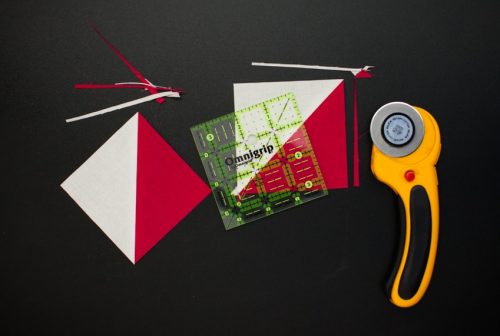
There are times when you need to make just one flying goose block (FG). This method shows how to make a single FG using one rectangle and two squares. Sew all seams as directed or at ¼”. (note: most pictures show a finished FG unit in opposite colors next to the illustrated FG steps in the tutorial)
Step 1
Begin with (1) rectangle cut the size of your unfinished FG unit (1/2” larger than your finished FG unit), and (2) squares cut the same as the short length of the rectangle.
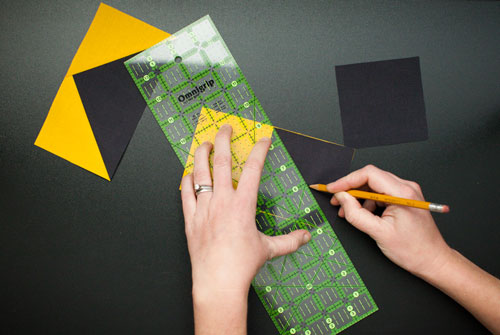
Step 2
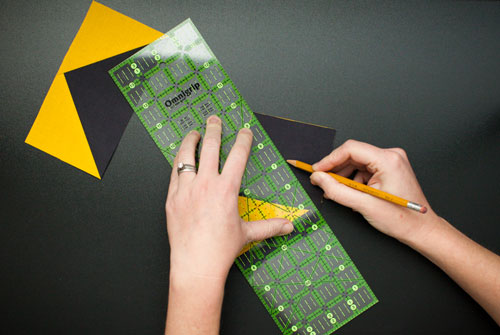
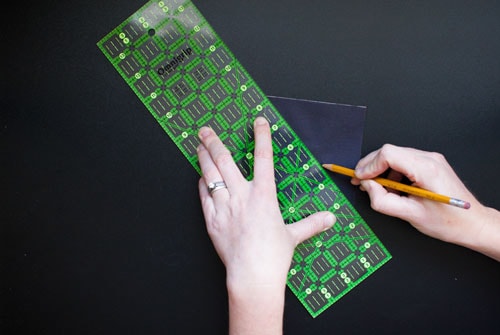
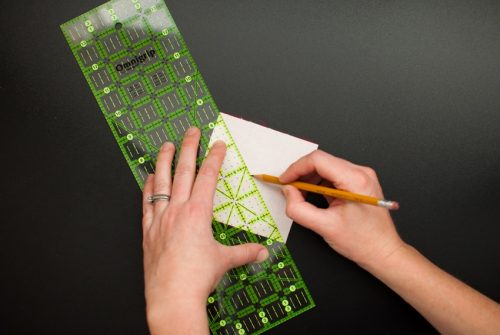
Line up one square at the end of the rectangle, right sides together. Draw a line from corner to corner of the square piece.
Step 3
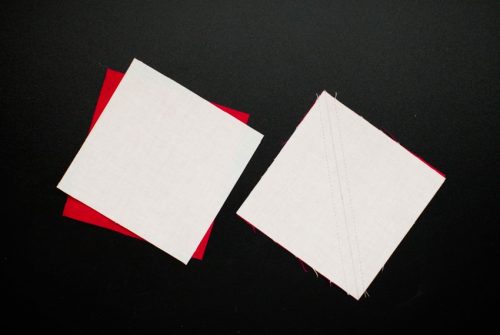
Sew directly on the drawn line, from corner to corner.
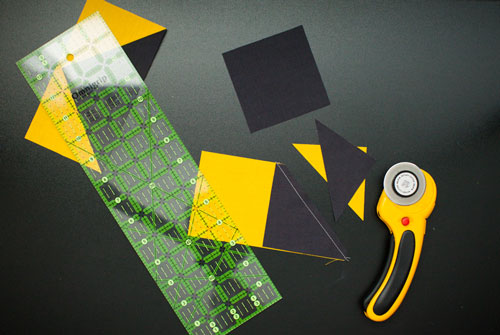
Step 4
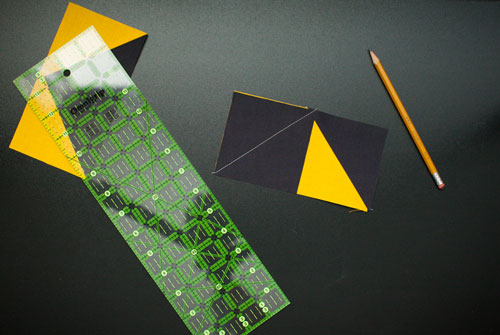
Trim the excess fabric ¼” from sewn seam away from the body of rectangle.
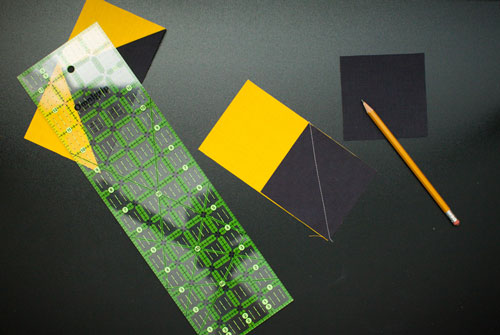
Step 5
Press open.
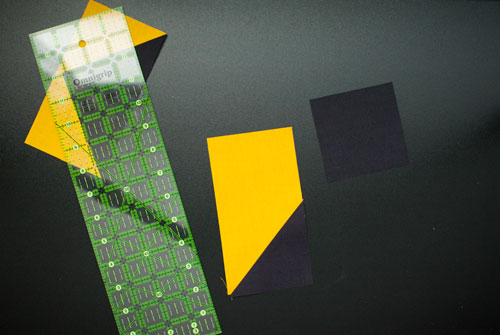
Step 6
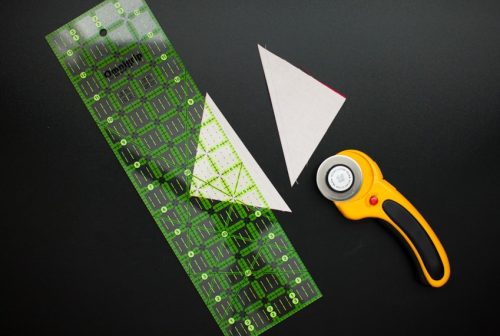
Line up second cut square on opposite end of rectangle. Draw a line from outer edge to center point created by first sewn seam, corner to corner of the square.


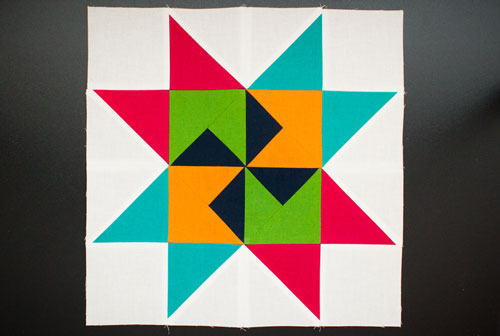


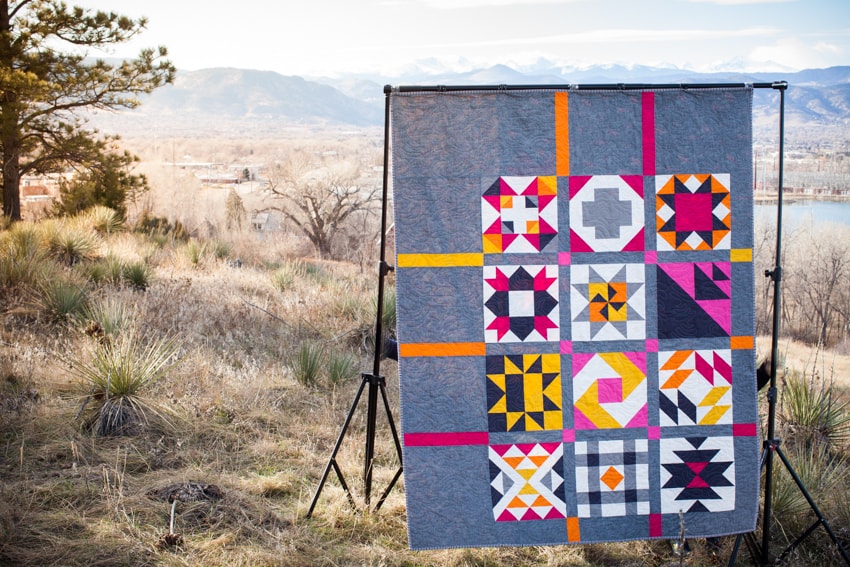
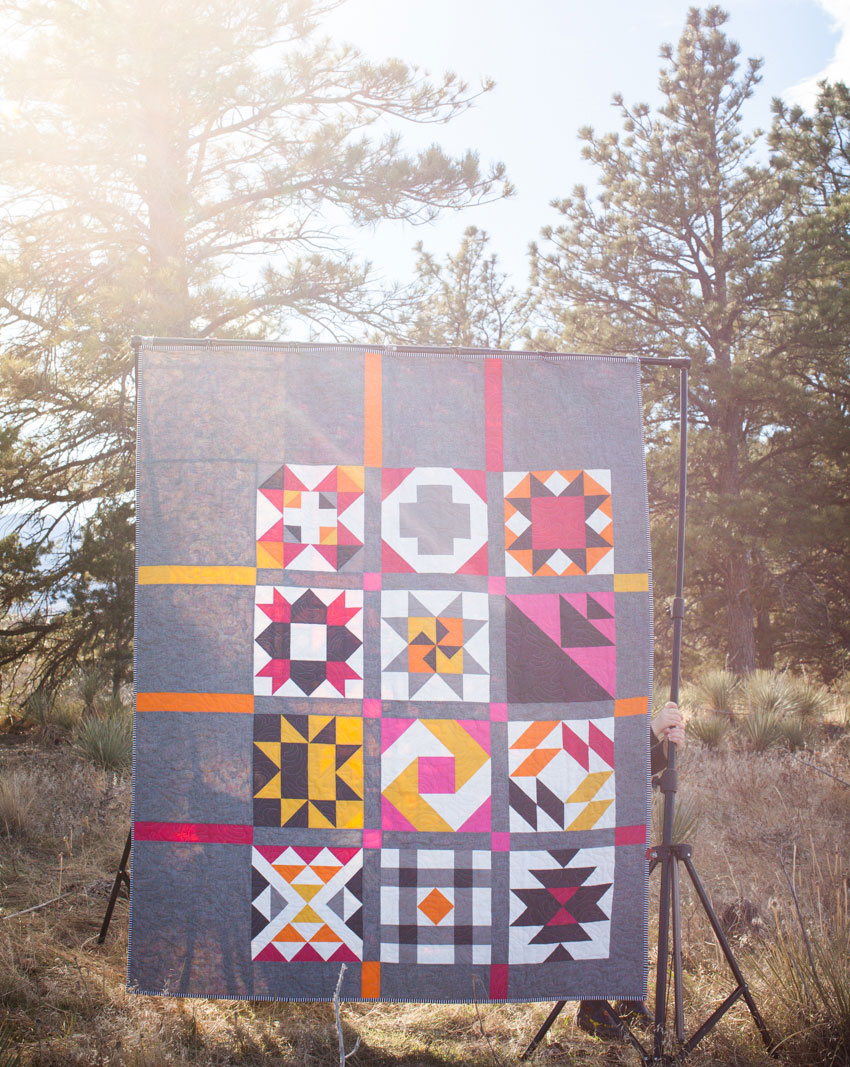 All of our 2018 blocks are simple enough for a novice to join in on the challenge. Yet, have a clean and modern look for even the most experienced quilter to enjoy making.
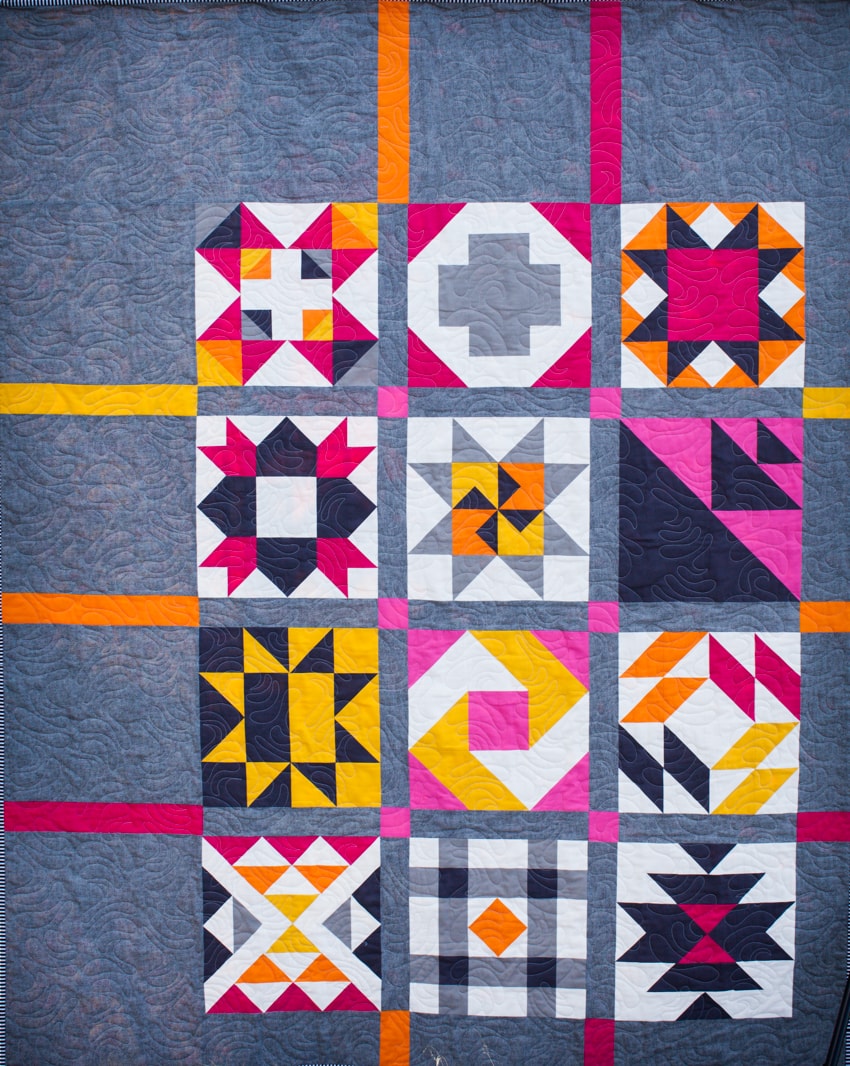