Single Flying Goose Block Tutorial

By Laura Loewen
There are times when you need to make just one flying goose block (FG). This method shows how to make a single FG using one rectangle and two squares. Sew all seams as directed or at ¼”. (note: most pictures show a finished FG unit in opposite colors next to the illustrated FG steps in the tutorial)
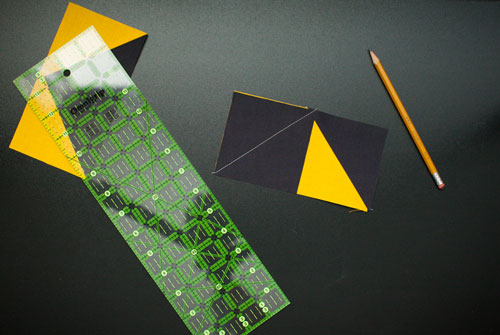
Step 1
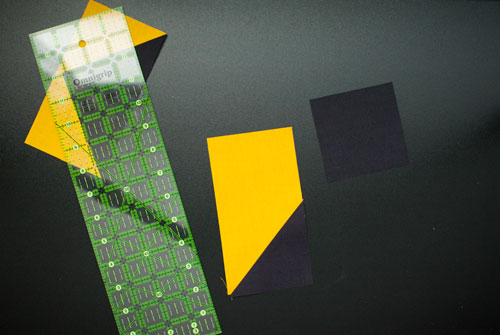
Begin with (1) rectangle cut the size of your unfinished FG unit (1/2” larger than your finished FG unit), and (2) squares cut the same as the short length of the rectangle.
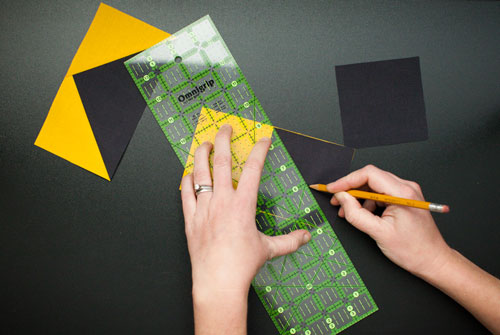
Step 2
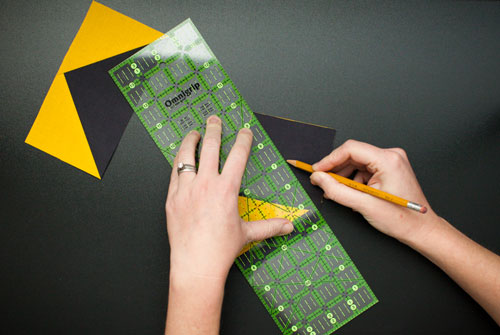
Line up one square at the end of the rectangle, right sides together. Draw a line from corner to corner of the square piece.
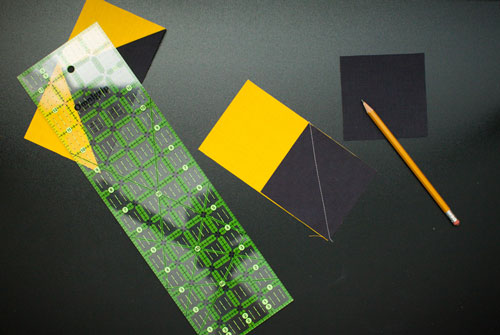
Step 3
Sew directly on the drawn line, from corner to corner.
Step 4
Trim the excess fabric ¼” from sewn seam away from the body of rectangle.
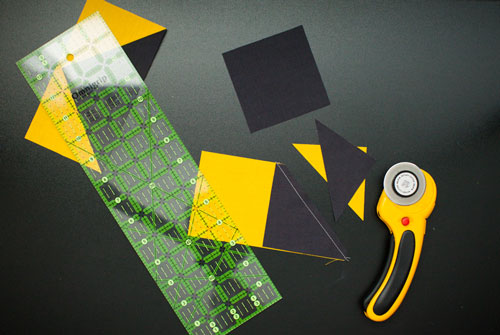
Step 5
Press open.
Step 6
Line up second cut square on opposite end of rectangle. Draw a line from outer edge to center point created by first sewn seam, corner to corner of the square.