April – Stacked Pyramids

April – Stacked Pyramids
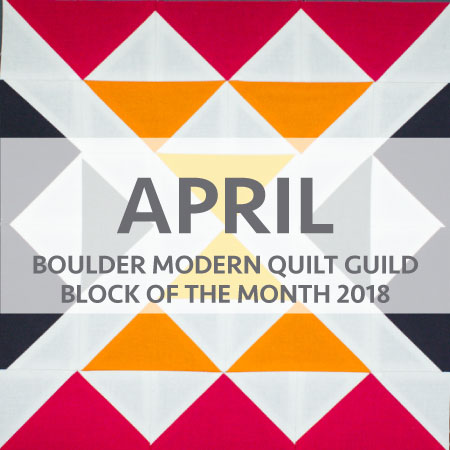
By Laura Loewen

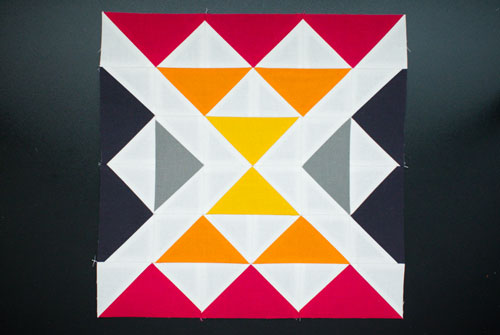
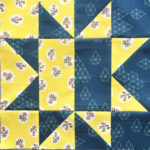
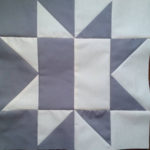
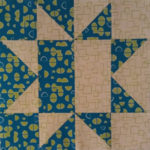
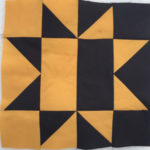
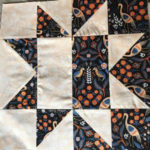
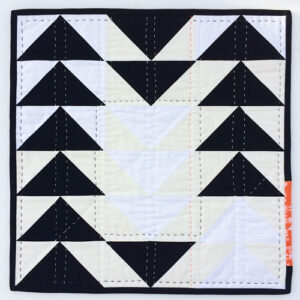
April’s block is a Stacked Pyramids block. You can create interesting effects with this block by selecting different fabric combinations. This block uses the no waste flying geese (FG) method. However, you will have some extra units to use for a future challenge project. Please reference the No Waste Flying Geese Tutorial for detailed instructions.

We suggest using six fabrics for this block. If you need help planning out your colors, you can download a coloring sheet for the whole quilt here.


Step 1

Cut fabric pieces from your chosen fabrics.

Fabric A:

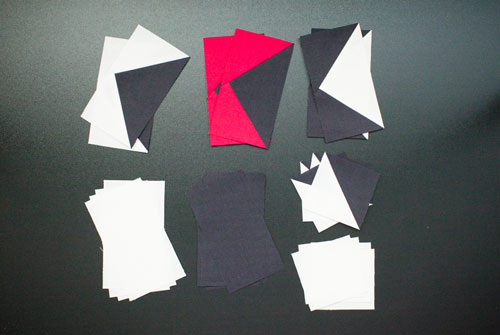
(24) 3” squares

Fabric B:

(1) 5.25” square

Fabric C:

(1) 5.25” square

Fabric D:

(2) 5.25” squares

Fabric E:

(1) 5.25” square

Fabric F:

(1) 5.25” square
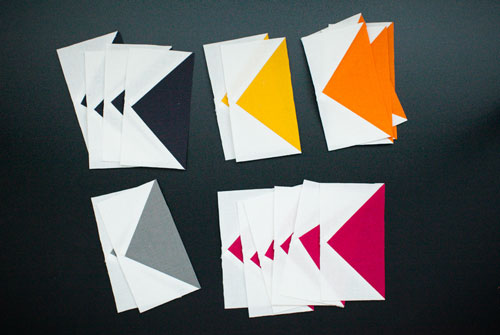
Units needed for Stacked Pyramids block:

(4) 2.5” X 4.5” A/B FG units

(4) 2.5” X 4.5” A/C FG units

(6) 2.5” X 4.5” A/D FG units [There will be (2) additional units from no waste method*]

(2) 2.5” X 4.5” A/E FG units [There will be (2) additional units from no waste method*]

(2) 2.5” X 4.5” A/F FG units [There will be (2) additional) units from no waste method*]

Step 2

Assemble FG units using no waste construction method.

Make one set each of A/B, A/C, A/E, and A/F FG units. Make 2 sets of A/D FG units.

Reference our no waste flying geese tutorial for detailed instructions.

Step 3

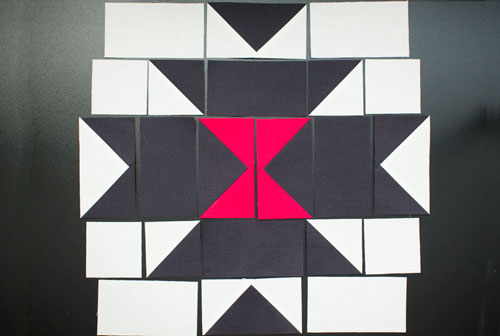
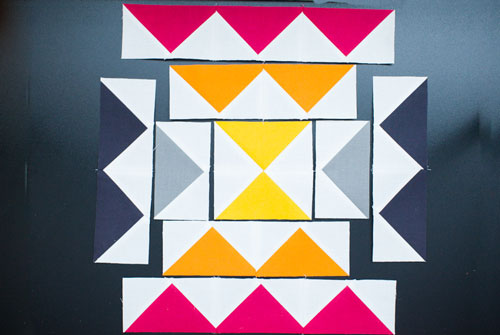
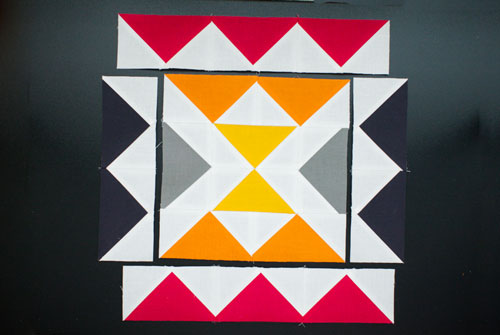
Arrange block layout.
Step 4

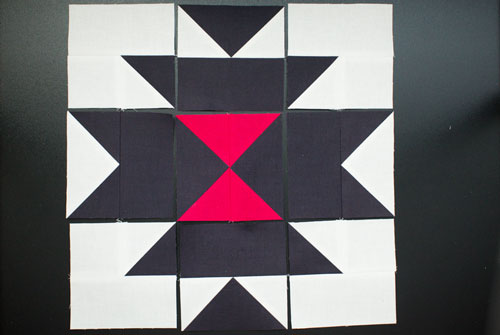
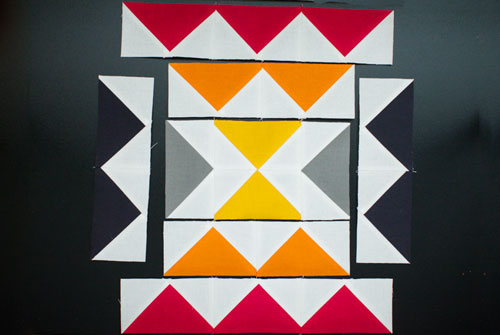
Begin block construction with inner most pieces. Continue assembly by working from center to outer most pieces. See photos for step-by-step assembly process.
Step 5

Trim block to 12.5” square.

Boulder MQG members can download a PDF of the pattern in the member area.

Play along with us and make sure you share your blocks so we can see your progress! On Instagram use #bouldermqgbom18 and tag us @bouldermqg  On Facebook share your blocks on the Boulder Modern Quilt Guild page. We may even share your blocks on our blog, Facebook, or Instagram!

*Make sure to save the extra pieces from your block for a special challenge project later in the year.

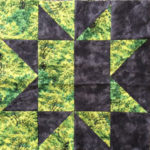
March – Squash Blossom

March – Squash Blossom

By Laura Loewen

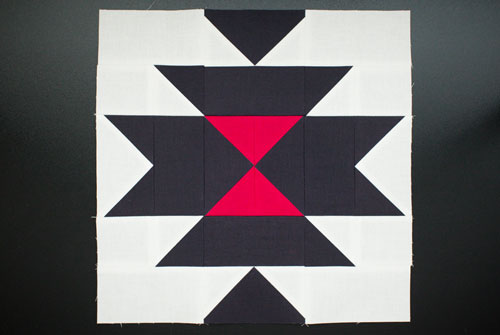
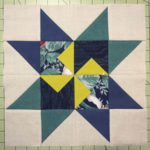
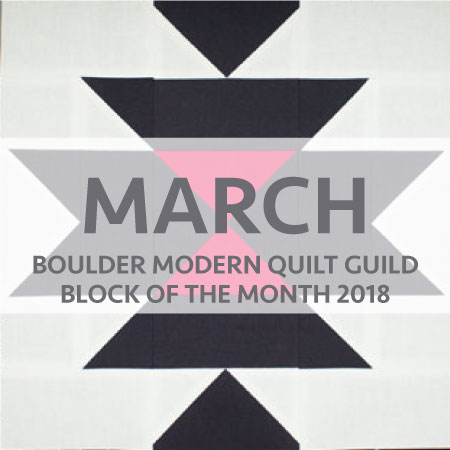
Our March block is a Squash Blossom. This is a modern block with an Aztec feel. It uses squares, rectangles, half-square triangle (HST) units, and single flying geese (FG) units. Please reference our paired HST tutorial, and single FG tutorial for these units. Measurements given for single FG units allow for trimming to size as noted at the end of the single FG tutorial.

We suggest using three fabrics for this block. If you need help planning out your colors, you can download a coloring sheet for the whole quilt here, or just the January, February, and March blocks here.

Step 1

Cut fabric pieces from your chosen fabrics

Fabric A (white):

(4) 2.5” squares

(4) 2.5” X 4.5” rectangles

(2) 3” squares for HST units

(2) 2.75” X 4.75” rectangles for FG units

(4) 2.75” squares for FG units

Fabric B (black):

(4) 2.5” X 4.5” rectangles

(2) 3” squares for HST units

(4) 2.75” X 4.75” rectangles for FG units

(4) 2.75” squares for FG units

Fabric C (red):

(4) 2.75” squares for FG units

Units needed for Squash Blossom block:

(2) 2.5” X 4.5” A/B FG units

(2) 2.5” X 4.5” B/A FG units

(2) 2.5” X 4.5” B/C FG units

(4) 2.5” X 4.5” A rectangles

(4) 2.5” X 4.5” B rectangles

(4) 2.5” square A/B HST units

(4) 2.5” A squares


Step 2

Assemble A/B, B/A, and B/C single FG units.

Pair together (1) 2.75” X 4.75” A rectangle with (2) 2.75” B squares. X 2

Pair together (1) 2.75” X 4.75” B rectangle with (2) 2.75” A squares. X 2

Pair together (1) 2.75” X 4.75” B rectangle with (2) 2.75” C squares. X 2

Reference our single FG tutorial for detailed instructions.

Step 3

Assemble (4) 2.5” A/B HST units from 3” squares.

Reference paired HST tutorial for detailed instructions.

Step 4

Arrange block layout.

Step 5

Assemble pieces into 9 units as shown before assembling block.

Step 6

Trim block to 12.5” square.

Boulder MQG members can download a PDF of the pattern in the member area.

Play along with us and make sure you share your blocks so we can see your progress! On Instagram use #bouldermqgbom18 and tag us @bouldermqg  On Facebook share your blocks on the Boulder Modern Quilt Guild page.We may even share your blocks on our blog, Facebook, or Instagram!

March 2018 – Upcoming Meeting and Announcements

March 2018 – Upcoming Meeting and Announcements

The March evening meeting is:

Thursday, March 1 from 6 pm – 8:30 pm

Alfalfa’s Market
785 E South Boulder Rd
Louisville, CO 80027

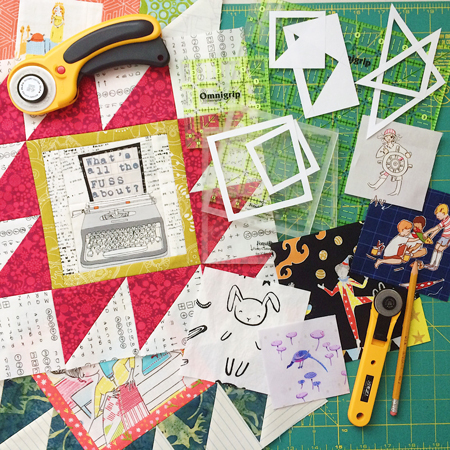
Social hour begins at 6 pm with the program running from 7 – 8:30 pm. This month the theme is “What’s All the Fuss About?” Fussy Cutting Modern Quilt Blocks. Laura L. has become a master fussy cutter and she will be sharing her expertise. The presentation will be about tools used for fussy cutting, developing templates and using commercial templates, fussy cutting basic shapes, complex shapes, creating secondary designs using fussy cuts, and fussy cutting words and text.

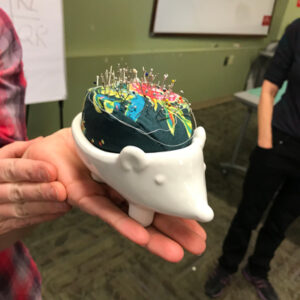
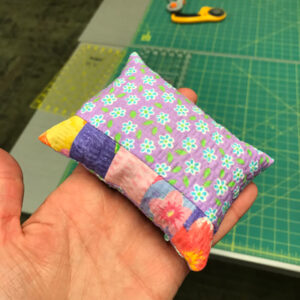
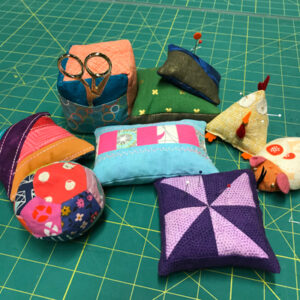
At the February open sew the challenge project was to make a pincushion. We had a lot of great participation and saw a lot of wonderful pincushions. At the March evening meeting we will be doing a pincushion swap. If you’d like to participate, bring a finished pincushion and you’ll leave with someone else’s handmade creation. The crushed walnut shell filling will also be available if you’d like to take some home, so bring a container if you’d like some.

OTHER ANNOUNCEMENTS

All Boulder MQG members have received a survey in their email. Please make sure to fill it out, it’s extremely valuable to us in planning events and programming for the guild. Please fill it out by March 2. You can find the link in the Member Area.


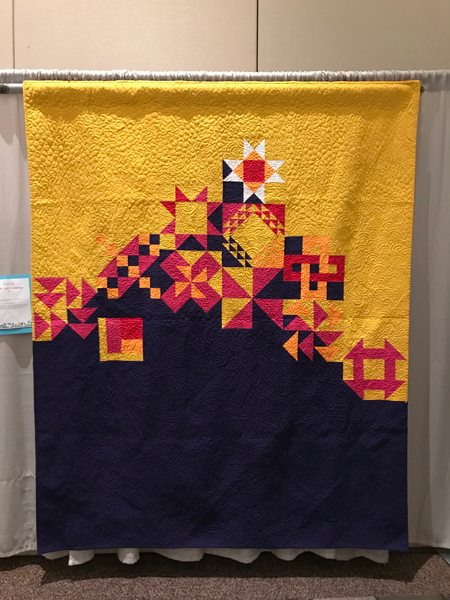
The Boulder MQG QuiltCon charity quilt is hanging in Pasadena. A special thanks to everyone who helped making this beautiful quilt possible!

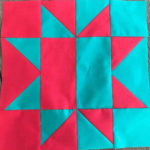
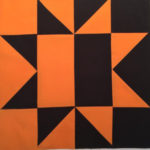
We’ve had another great month with the Boulder MQG BOM. I love how different the block looks with prints vs solids. If you haven’t made yours yet, there’s still plenty of time, here’s the February block tutorial.

Make sure you’re using #bouldermqgbom18 and tag us @bouldermqg for your blocks on Instagram!

The March open sew challenge will be to make a name tag. Laura L.’s fussy cutting information will be great information if you want to use a fabric with letters, but you can also embroider them. There will be more information to come, but check the Pinterest board for ideas.


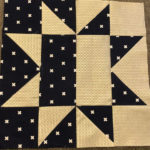
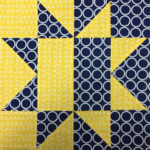
February – Sawtooth Star

February – Sawtooth Star


By Laura Loewen

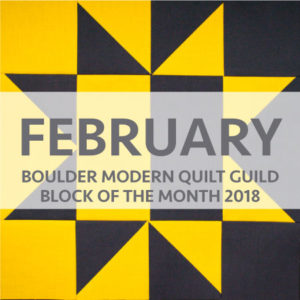
The Sawtooth Star has been around since 1884 and is one of the most iconic classic quilt blocks. Our February block is a simple divided variation. This effect makes the block bold and graphic. This block uses squares, rectangles, single flying geese (FG), and half-square triangle (HST) units. Please reference our paired HST tutorial and single flying goose tutorial for detailed steps in creating these units.

We suggest using two fabrics for this block. If you need help planning out your colors, you can download a coloring sheet for the whole quilt here, or just the January, February, and March blocks here.

Step 1

Cut fabric pieces from your chosen fabrics.

Fabric A (yellow):

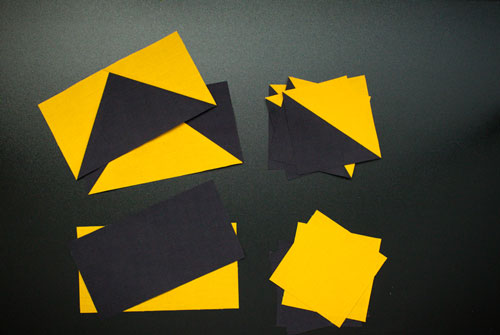
(4) 3.5” squares

(2) 4” squares

(2) 3.5” X 6.5” rectangles

Fabric B (black):

(4) 3.5” squares

(2) 4” squares

(2) 3.5” X 6.5” rectangles

Units needed for Divided Sawtooth Star block:

(4) 3.5” A/B HST units

(2) 3.5” A squares

(2) 3.5” B squares

(1) 3.5” X 6.5” A rectangle

(1) 3.5” X 6.5” B rectangle

(1) 3.5” X 6.5” A/B FG unit

(1) 3.5” X 6.5” B/A FG unit

Step 2

Assemble (4) A/B HST units from 4” squares. Trim to 3.5”.

Reference paired HST tutorial for detailed instructions.

Step 3

Assemble A/B and B/A single FG units from (2) 3.5” squares of each color and (1) 3.5” X 6.5” rectangle of each color. Pair opposite colors to create opposite FG units.

Reference single FG tutorial for detailed instructions.

Step 4

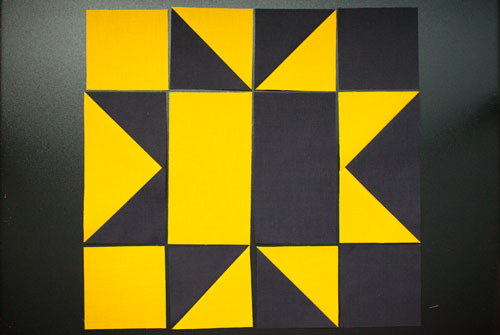
Arrange your block layout.

Step 5

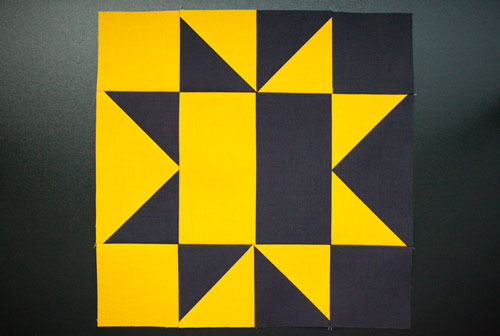
Assemble your block.

Step 6

Trim block to 12.5” square.

Boulder MQG members can download a PDF of the pattern in the member area.

Play along with us and make sure you share your blocks so we can see your progress! On Instagram use #bouldermqgbom18 and tag us @bouldermqg  On Facebook share your blocks on the Boulder Modern Quilt Guild page. We may even share your blocks on our blog, Facebook, or Instagram!

February 2018 – Upcoming Meeting and Announcements

February 2018 – Upcoming Meeting and Announcements

The February evening meeting is:

Thursday, February 1 from 6 pm – 8:30 pm

Alfalfa’s Market
785 E South Boulder Rd
Louisville, CO 80027


Social hour begins at 6 pm with the program running from 7 – 8:30 pm. This month the theme is “Give Your Quilt Some Birds” Flying Geese Blocks. Laura L. and Claudia will be presenting the history of flying geese, modern blocks, flying geese as units of blocks, the anatomy of flying geese, and ways to assemble flying geese with live demos.

Make sure to bring quilts for show and tell, bonus points if they have flying geese!

OTHER ANNOUNCEMENTS

We have had great participation in the Boulder MQG BOM and we’ve loved seeing all your blocks you’ve made. We’ve been getting people participating online from as far away as Norway! It’s not too late to join in, get the tutorial for the January block here.


The February open sew challenge project will be to make pincushions. We are getting together a Pinterest board with inspiration and tutorials, but we’d love for you to send us your favorite pincushion patterns. Or tag @bouldermqg on Instagram and show us photos of your favorite pincushion.

No Waste Flying Geese Tutorial

No Waste Flying Geese Tutorial

By Laura Loewen

When you need multiple flying geese (FG) of identical fabrics it is easiest to make them with the no waste FG method. This method makes 4 FG units. Begin with one large square cut 1.25” larger than your finished FG width, long side, and four small squares cut 1” larger than your finished FG height, short side. Our example shows a finished FG unit at 2”x4”, so we begin with (1) 5.25” square [long side + 1.25”], and (4) 3” squares [short side + 1”]. This can be translated to any size FG units you desire.

Step 1

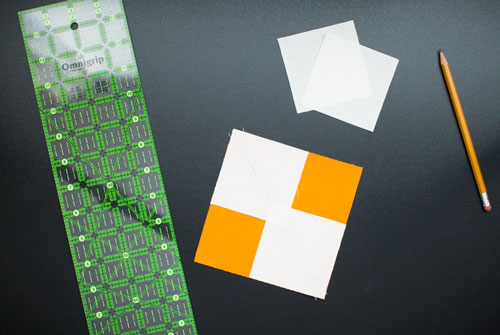
Align (2) of the small squares to opposite corners of the larger square. Draw a line diagonal across both small squares, corner to corner of the large square.

Step 2

Sew ¼” on both sides of the drawn line.

Step 3

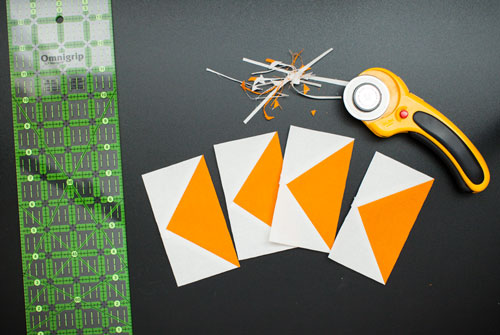
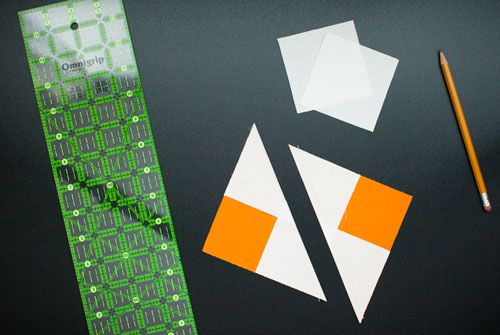
Cut on drawn line. Press open.

Step 4

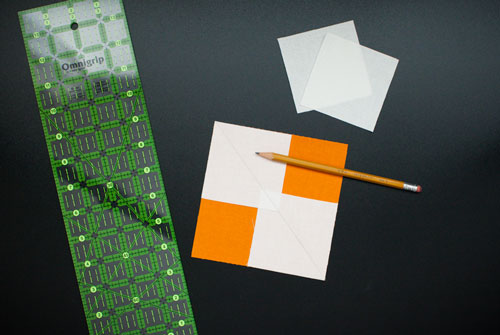
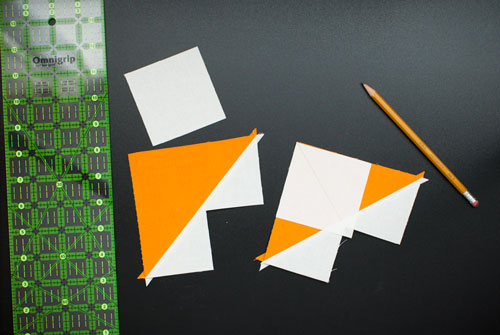
Align a remaining small square to each of the units created. Draw a diagonal line perpendicular to the first seam, corner to corner of the small square.

Step 5

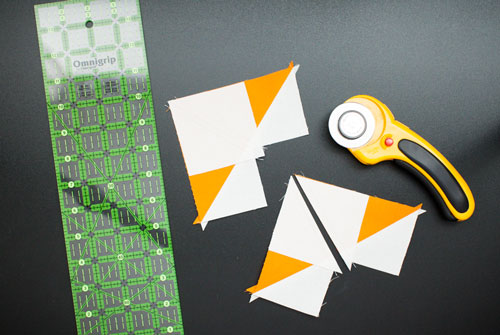
Sew ¼” on both sides of drawn lines of both units created.

Step 6

Cut along drawn lines. Press open.