Foundation Paper Piecing Tutorial
From Barb Gippe’s April 2018 Evening Presentation. The full version with additional tips and information is available in the Member’s Area.
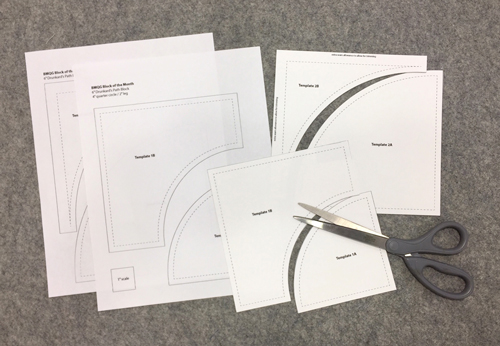
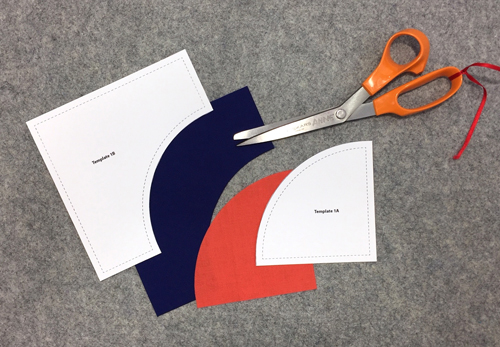
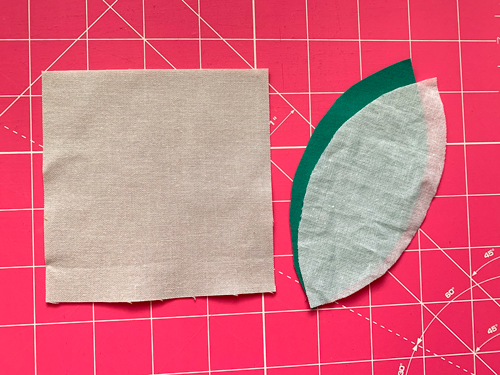
Foundation Paper Piecing Supplies
Foundation Paper Piecing Instructions
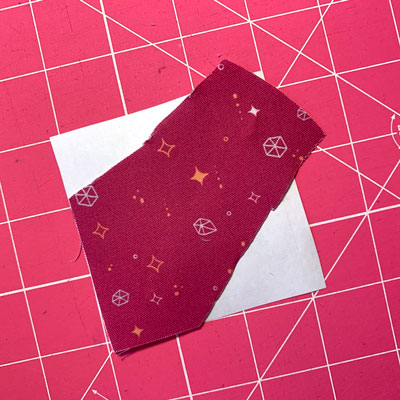
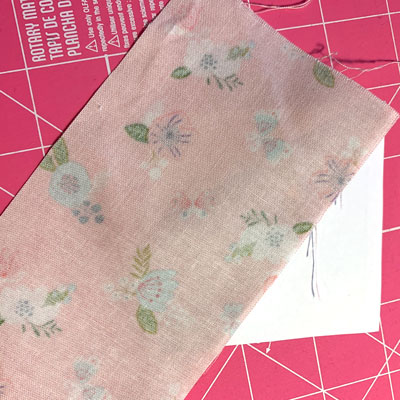
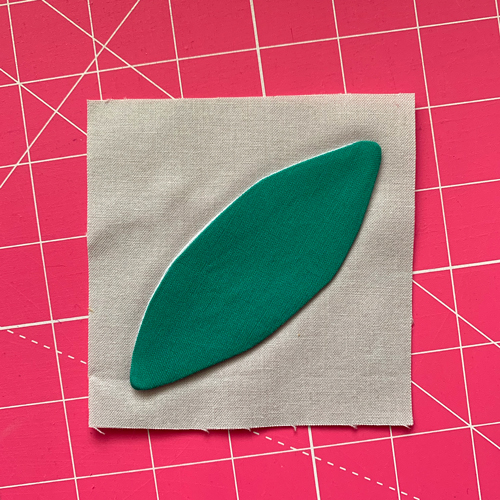
You will sew the pattern in number order. Begin by taking the first fabric and attaching it to the unprinted side of the paper with either a flat head pin or glue stick. Ensure that the entire piece is covered, (in this case, section 1) including an additional 1/4″ margin.
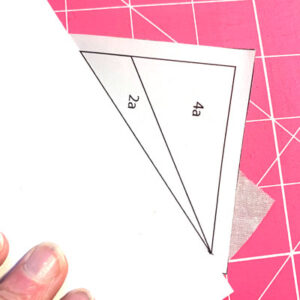
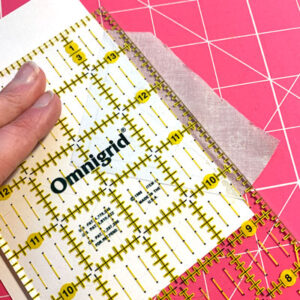
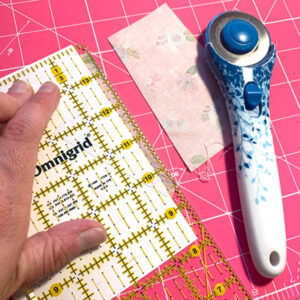
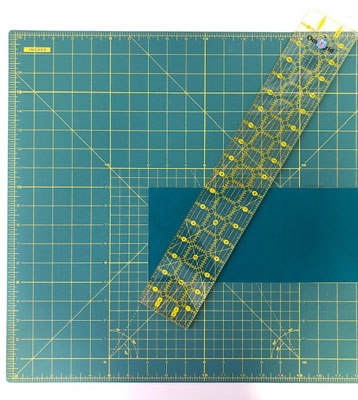
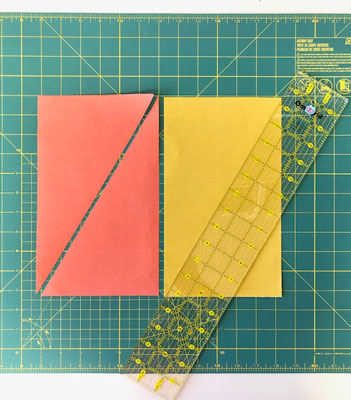
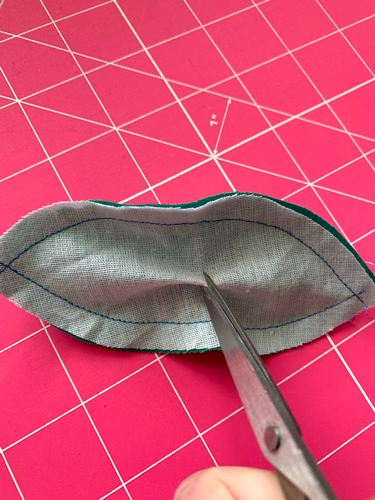
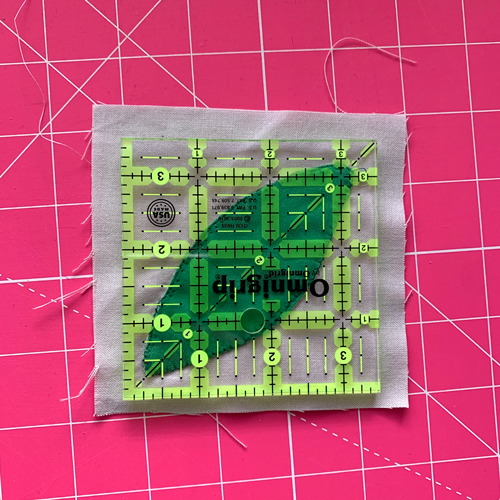
Place your card stock or index card along the printed line on the pattern you will be sewing (in this case you will be sewing on the line between sections 1 and 2) and fold over the printed paper (printed sides together). Use your rotary cutter to trim the fabric 1/4″ from the edge of your paper.
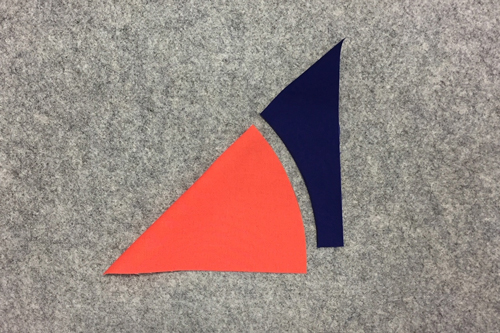
Set fabric 2 on top of fabric 1, right sides together at the trimmed edge of fabric 1.
Make sure you have the fabric in the correct location. Test this by putting a pin in the two fabrics at a 1/4″ and flipping the fabric over as if it has been sewn. Make sure that fabric 2 covers all edges of the pattern, keeping in mind the 1/4″ margin.
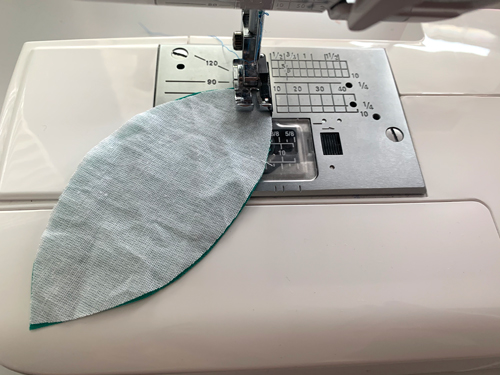
Make sure your machine is set for a shorter stitch length and you have a 90/14 needle in.

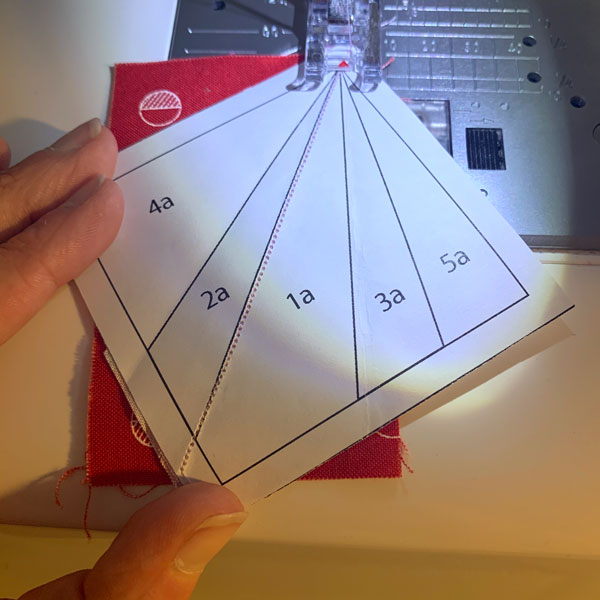
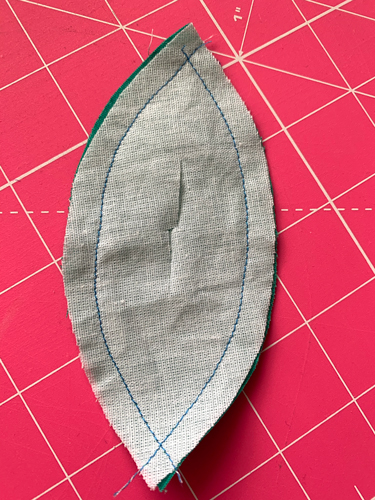
Set your pattern on your machine, printed side up, ready to sew on the line between the two sections (in this case, you’ll be sewing on the line between 1 and 2.) Remember to sew 1 or 2 stitches before and after the line.
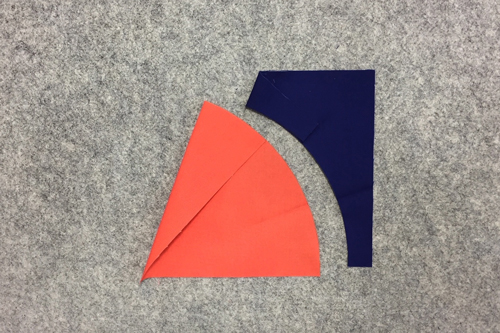
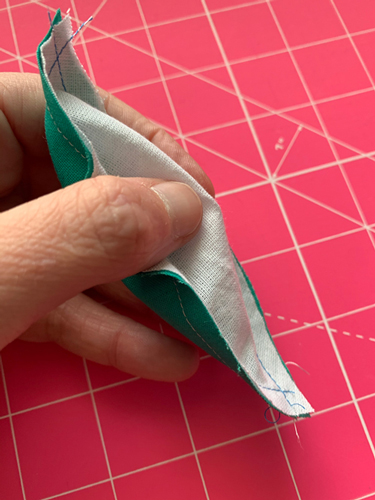
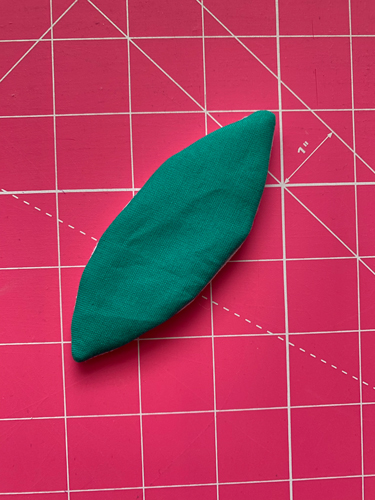
Open and press the right side of the fabrics.
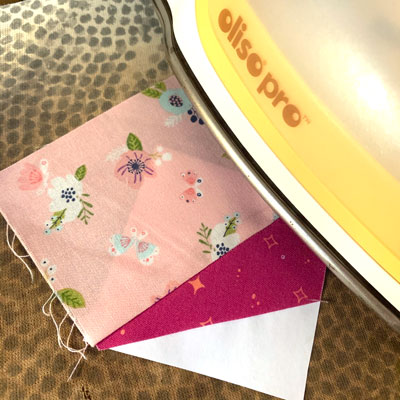
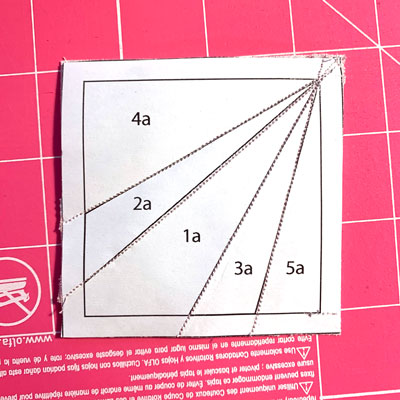
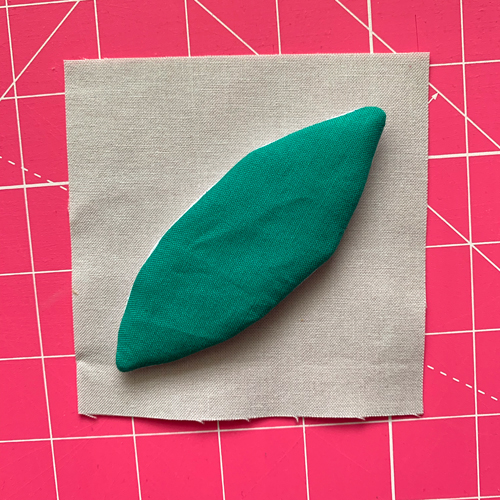
Continue the same way with each new piece of fabric, sewing them in numerical order.
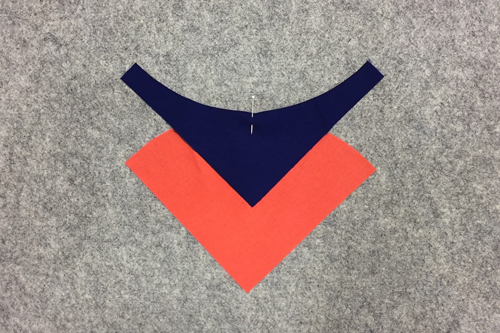
Tips For Joining Multiple Pieces
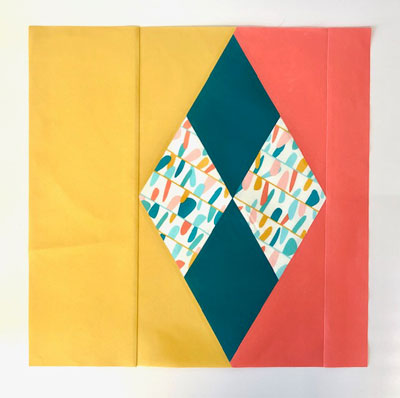
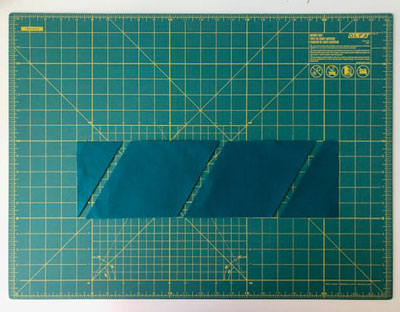
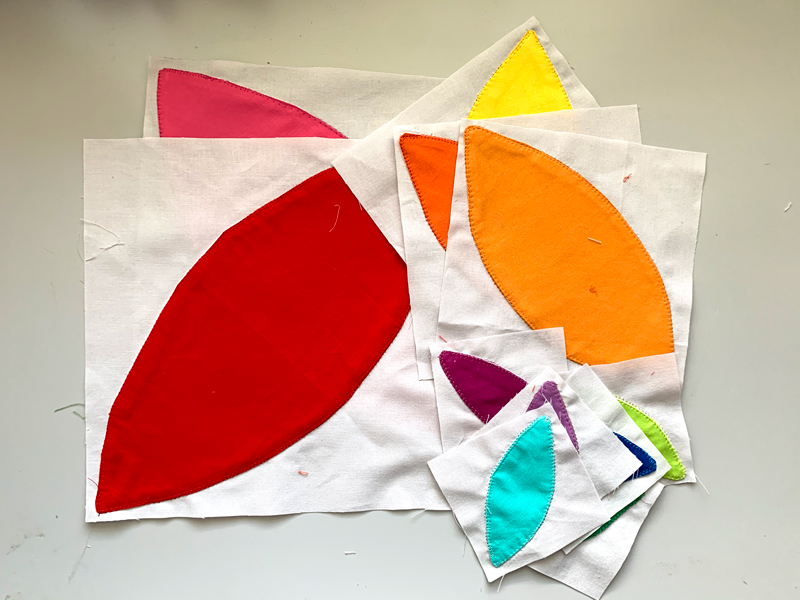
Some foundation paper piecing patterns are made up of multiple pieces that need to be joined together, this is the case with the July BOM block.
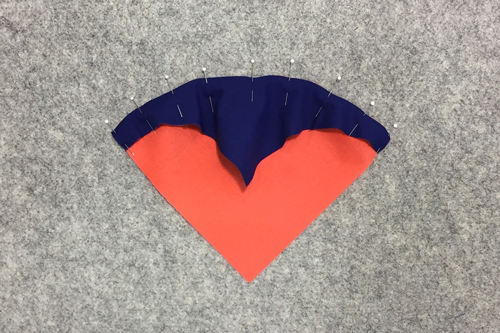
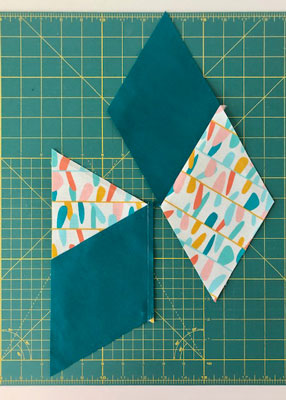
Take the two pieces you will be joining and place them right sides together. Take a pin and stick it through the corner of one piece through the other other piece’s corner.
-
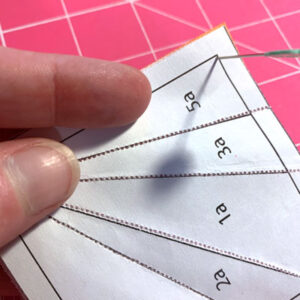
- Pin goes through one pattern piece
-
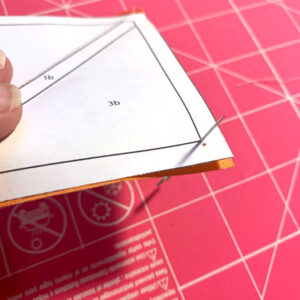
- Pin comes through the other pattern piece
If necessary, reposition the pin until it is straight. When you begin sewing the pieces together, this ensures your pieces will join correctly.
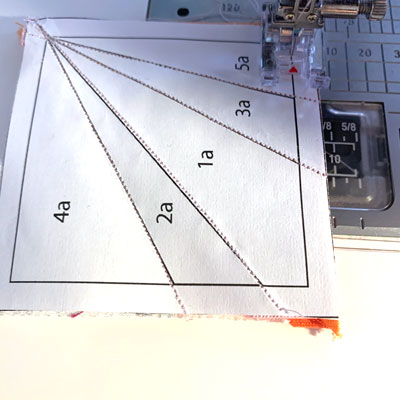
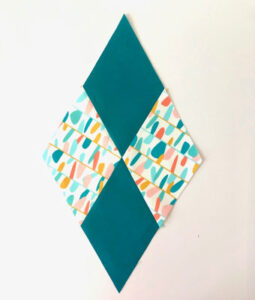
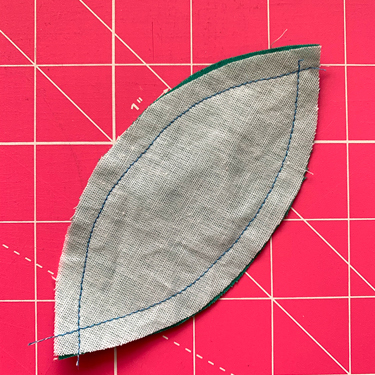
Sew the pieces together along the edge line, or just use a 1/4″ seam.


 By Anne Deister
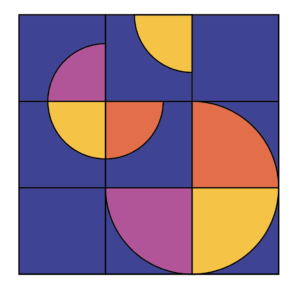
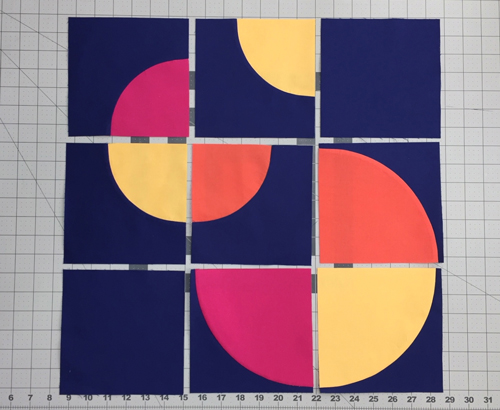
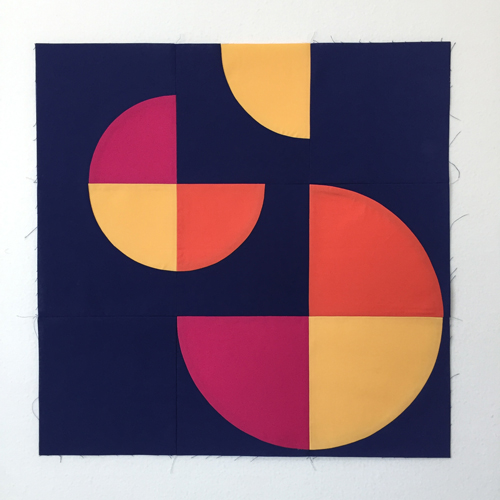
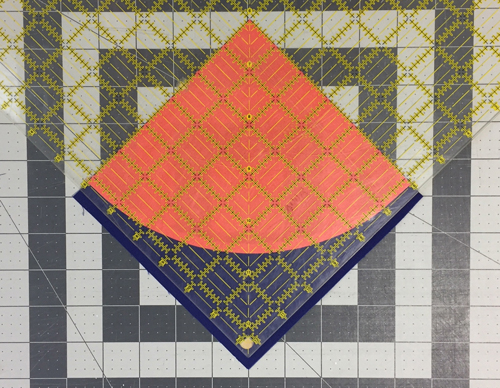
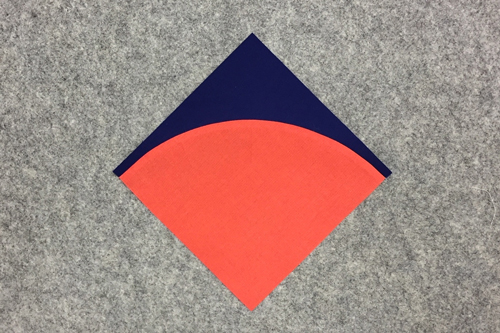
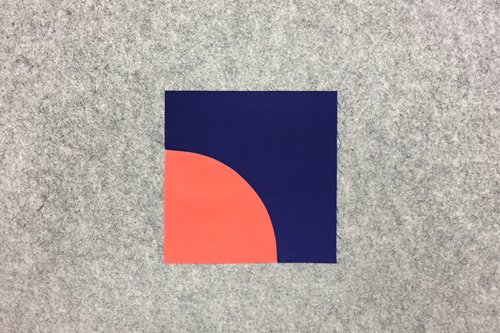
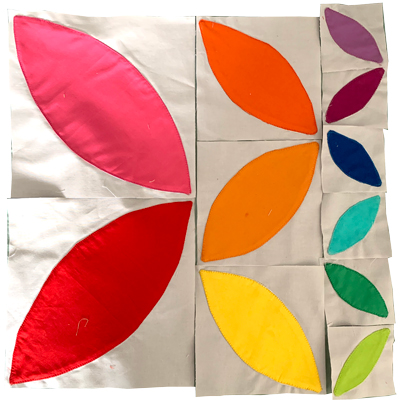
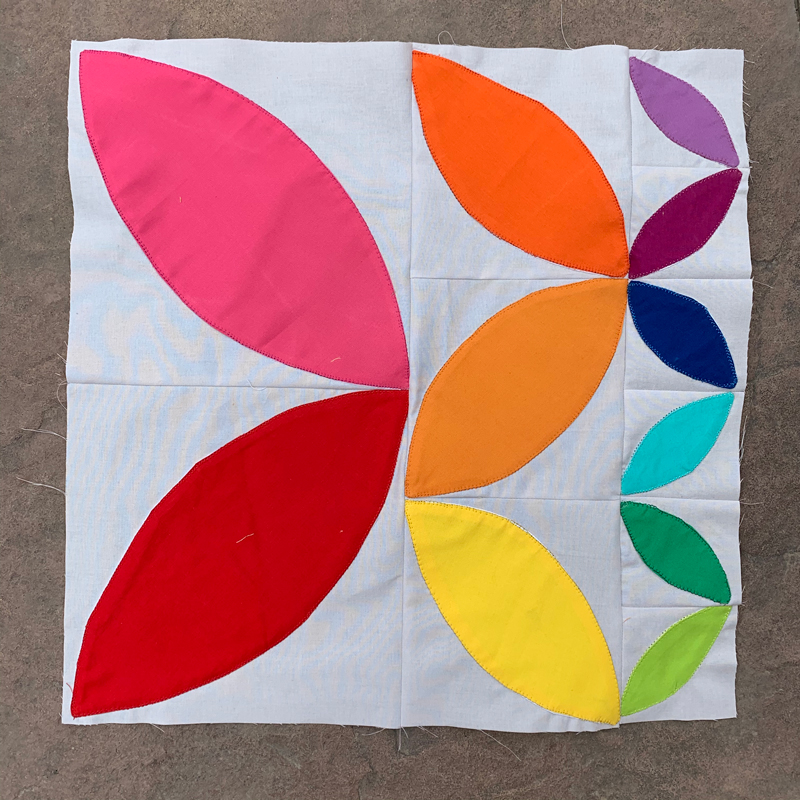
This month’s BOM uses two different Drunkard’s Path blocks (as described in the Skill Builder tutorial) to create a modern, asymmetrical layout. The layout challenges you to match curves when aligning blocks and to have some curves come right to the edge of the block while others have negative space around them and float within the space.
By Anne Deister
This month’s BOM uses two different Drunkard’s Path blocks (as described in the Skill Builder tutorial) to create a modern, asymmetrical layout. The layout challenges you to match curves when aligning blocks and to have some curves come right to the edge of the block while others have negative space around them and float within the space.