
By Karla Haynes
Making the Triangles
Method One – 60° Equilateral Triangle Ruler
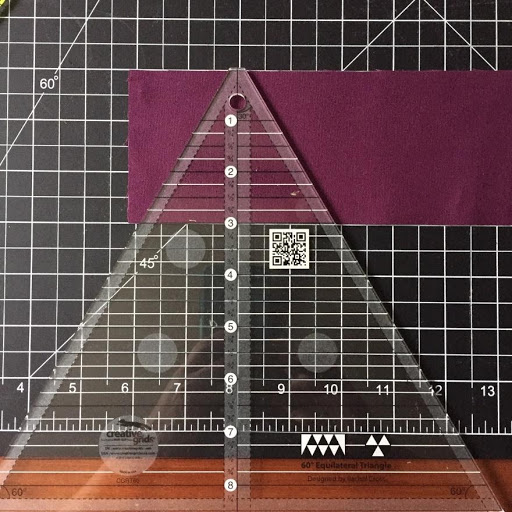
I am using 60° equilateral triangle ruler by Creative Grids. I like this one because it has a center line to cut your outside pieces easily. It is a good investment if you like making triangles like I do, but is not needed if you are just going to make this one block!
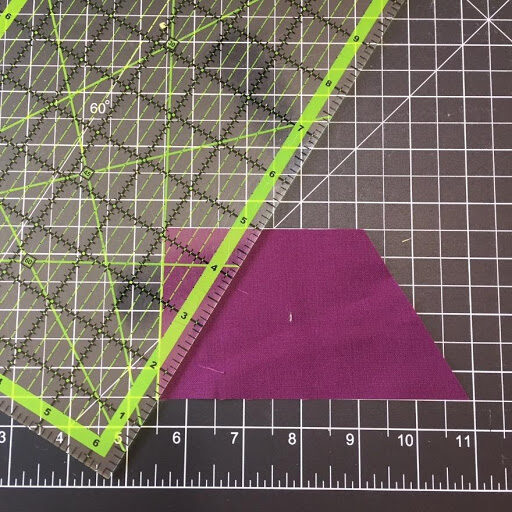
Step 1
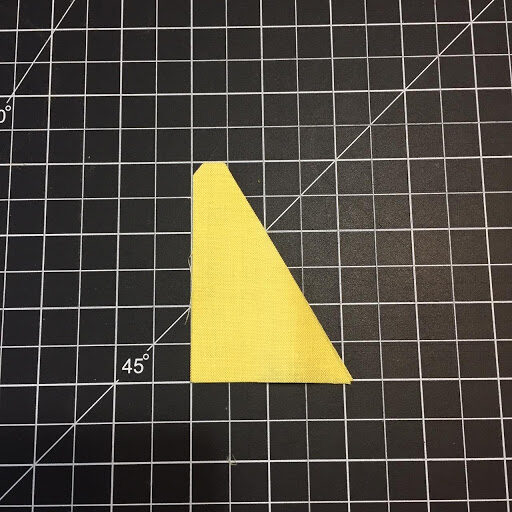
Lay your ruler over the top of the square, lining up the top of the triangle (flat edge) and the bottom of the square with the numbered line corresponding to the height of the block. For example, for the 3 x 4 in rectangle, you will align it on the 3 in line as in the photo below.
Step 2
Cut along both sides of the ruler to create your triangle. It will have a blunt top edge.
Step 3
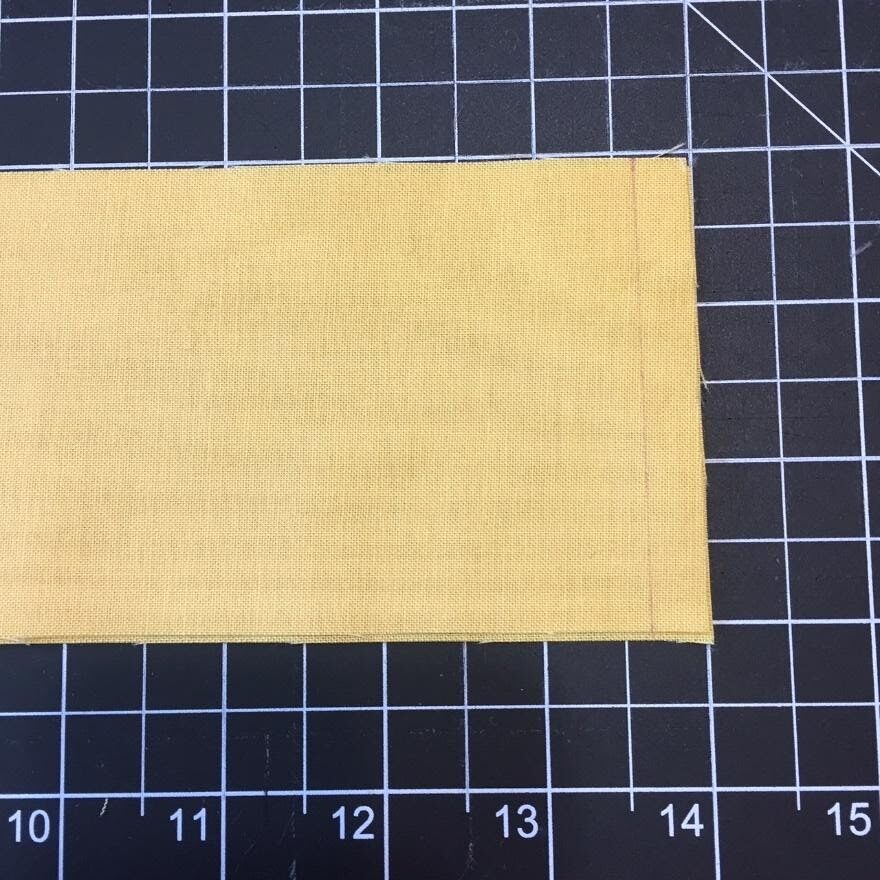
For the outside pieces, fold your rectangle in half, and align the raw edges with the line to the left of the center line.
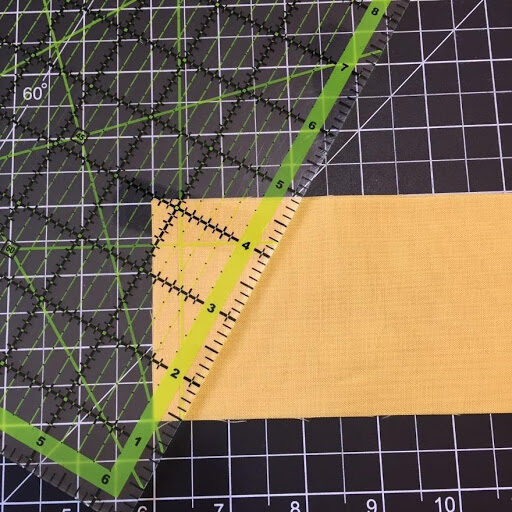
Step 4
Cut along the edge of the ruler, trimming the tiny corner off the opposite side.
Step 5
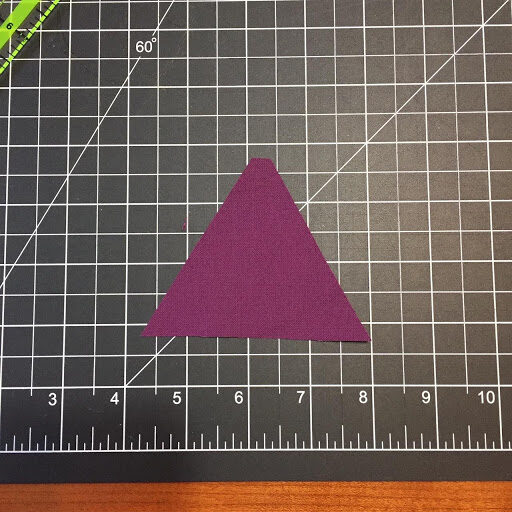
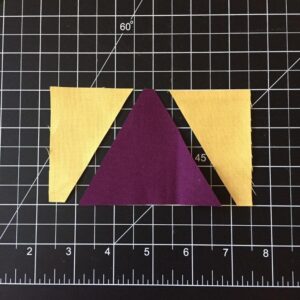
You will now have 3 triangle pieces. Fold down the outside piece and align the clipped edge with the bottom edge of the triangle.
Step 6
Sew a .25 in seam along the triangle edge. Press seams open. Align the second triangle edge in the same manner. Stitch a .25 inch seam along the opposite edge. Press open.
Step 7
Trim triangles according to the instructions below.
Method Two – Standard Quilting Ruler
This is a longer, more time-consuming method, but you can make this work just as well without any special tools.
Step 1
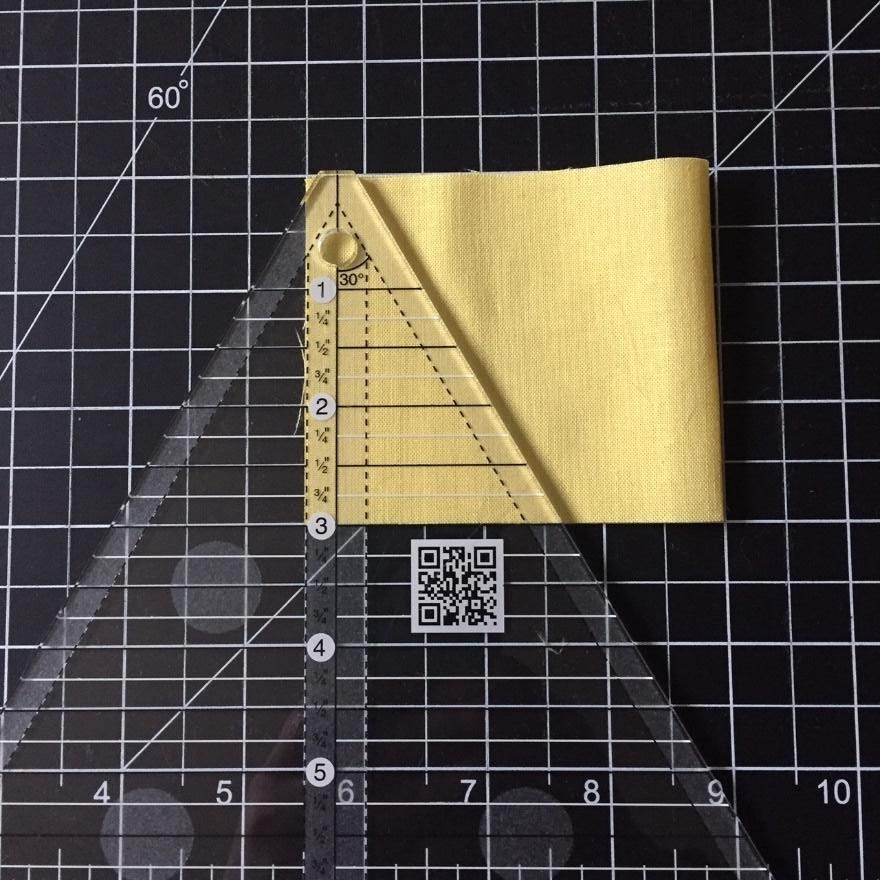
To cut the inside of the triangle, identify the 30° angle on your ruler and line up the edge of the ruler line it up with the edge of the square as in the photo below. The end of the line should meet the corner of your square. Cut along the ruler edge.
Step 2
Flip the fabric over and align the bottom of the 30° line with the bottom of the fabric. Ensure that you have a .25 in long flat edge along the top of your triangle by positioning your ruler as in the photo below. Cut the fabric along the edge of the ruler.

Step 3
Cut the triangle background. On the short side of the fabric strip, mark a line on the back of your fabric 3/8 inches from the edge.
Step 4
Fold the strip in half, right sides together, with the marked side visible on top. Align your 30° ruler line along the marked line, with the bottom of the ruler touching the bottom edge of the fabric. Trim along the edge of the ruler.
Step 5
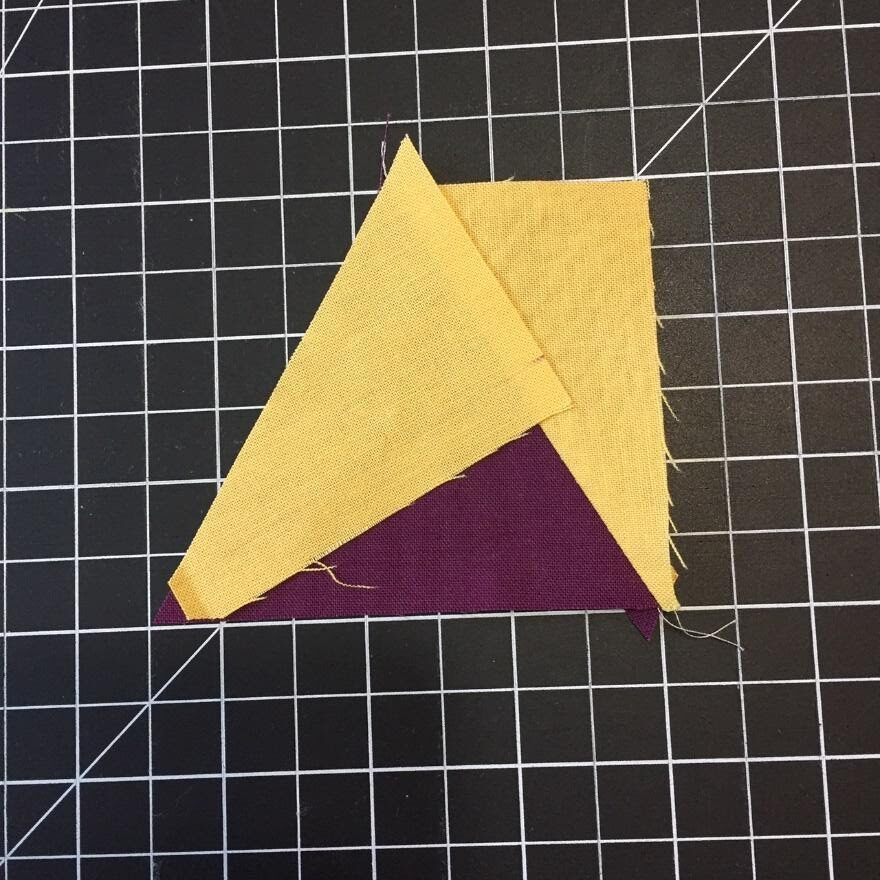
You will now have 3 triangle pieces. To assemble the triangles, line up the short side of the triangle outside with the triangle inside. The edges of the pieces should align, leaving a .25” ear at the top and bottom of the triangle. There will also be a small ear below the triangle bottom edge.
Step 6
Stitch a .25” seam and press open. Line up the other side, again leaving a .25” ear at the top. The ears of the background pieces will align and overlap. Stitch .25” seam and press open.
Step 7
Trim triangles according to the instructions below.
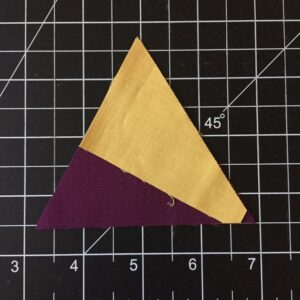
Trimming the Triangles
The triangle pieces will be a bit large. Trim the top and bottom of the triangle first. Make sure that there is a .25 in seam allowance above the top point of your triangle and trim the bottom edge second.
Step 1
To trim the sides, line up the tip of the triangle along the center measurement of your triangle block and trim each side individually. For example, line up the 3 in wide triangle tip with the 1.5 in measurement to trim each side.
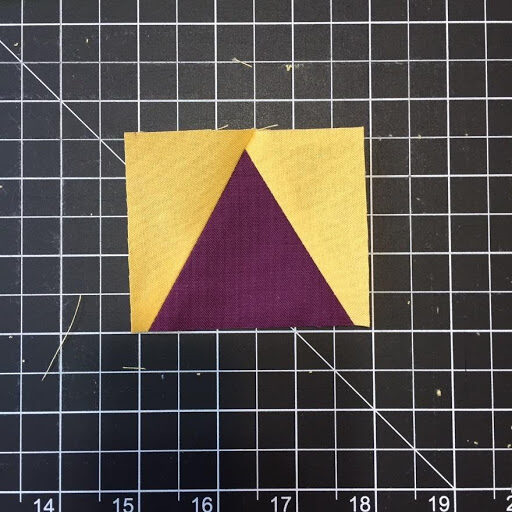
Your triangles will look like this when complete!
