
By Laura Loewen
The BoulderMQG 2018 show, An Exploration in Sustainable Modern Quilting, requires specific hanging attachments for any quilts that are accepted. Be sure that any accepted quilt(s) include the correct attachments for hanging. The following is a tutorial for creating and adding a sleeve to larger quilts. For our show, any quilt measuring wider than 30” will require a sleeve. If a sleeve is not added to your accepted entry we may use other means to hang and display the quilt, such as folding and draping the quilt over a display bar. Please add a sleeve to any quilt larger than 30” wide. However, quilts wider than 60” may still be folded for display because of our space restrictions. Below we provide instructions for adding a sleeve to your quilt after it has been bound.
Adding a Hanging Sleeve After Binding
Step 1
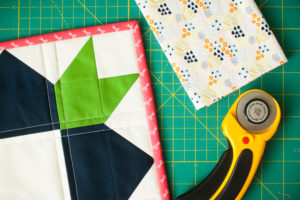
Gather supplies; finished quilt (bound) and fabric to make hanging sleeve.
Step 2
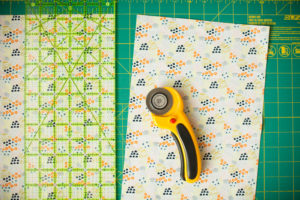
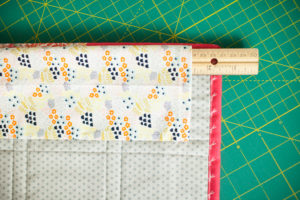
Cut fabric to make sleeve. Piece together if needed.
9.5” Wide X [width of your quilt] Long
Step 3
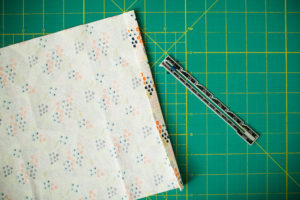
Press short ends. Fold over ½” and press, fold over again ½” and press.

Step 4
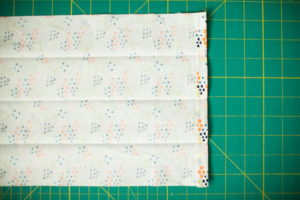
Sew folded ends down.

Step 5
Fold in half lengthwise, wrong sides together. Press to create a center crease.
Unfold and fold one long edge in to the middle lengthwise. Raw edge should run parallel with center crease. Press.
Unfold and fold the other long edge in to the middle lengthwise. Press.
You will create 3 creased folds.
Step 6
Fold on center crease, wrong sides together. Sew ½” seam allowance along raw edge lengthwise creating a tube. Secure ends with backstitch.

Step 7
Minding the existing creases, press seam open. Take care to keep outer creases pressed as they were before sewing the seam.

Step 8
Align center of quilt with center of sleeve tube. Keep the seam side down, hiding the raw edges. Pin top crease of sleeve running parallel to the top edge of quilt; approximately ½”-¾” from top edge, just inside binding. Align creases so the tube is dimensional away from the quilt. The back of the quilt will be flush with the back of the sleeve. Pin the sleeve to the quilt along the bottom crease.

Step 9
Hand sew along both the top and bottom edge of sleeve. At the sides of the sleeve, stitch down only one layer keeping a tube opening. Take care to only stitch through the quilt backing and not through the front of the quilt.

Step 10
Remove pins after finishing stitching sleeve down.
Your finished sleeve should be dimensional to allow for our hanging hardware. It should stay completely hidden behind the edges of the quilt when it is hung.
Submissions for An Exploration in Sustainable Modern Quilting will be accepted through September 1, 2018. If your quilt is smaller than 30″ it will need corner triangles for hanging, please see the corner triangle tutorial.
