
By Cara Cansler
Inset Circle Supplies
6 ½” square of background material
5” square of circle material
Freezer Paper
Stick Glue
Compass or a circle cutter
Quilting ruler, thread, zipper foot, sewing machine
Inset Circle Instructions
For the BOM we’ll make 3 sizes of inset circles, but for the tutorial we’ll be making 1 circle in square block.
Step 1 – Make Templates
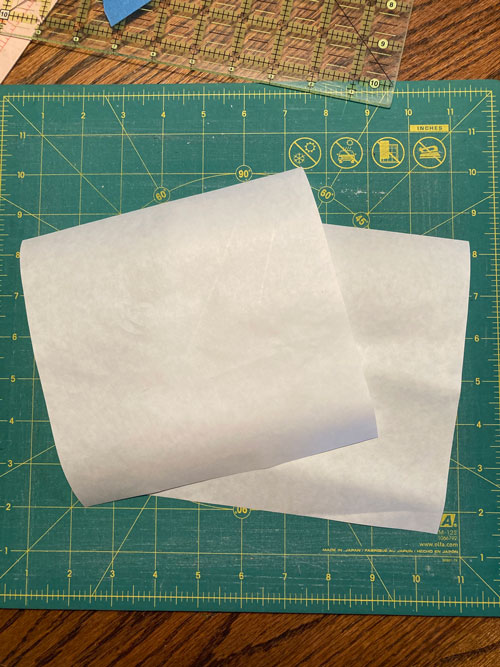
Cut 2 – 6 ½” squares of Freezer Paper. Notice there’s a shiny side and a paper side of the paper. The shiny side will stick to fabric when ironed on a cotton fabric.
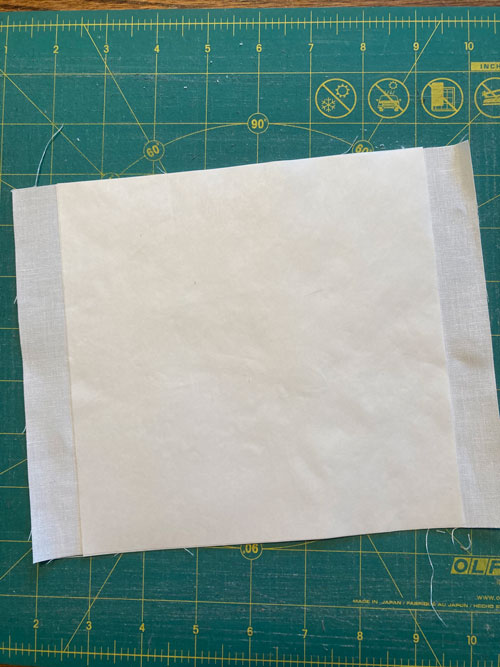
I placed the 2 sheets of freezer paper on top of a piece of fabric with both sheet’s shiny side towards the fabric. Use fabric so the paper doesn’t stick to the ironing board.
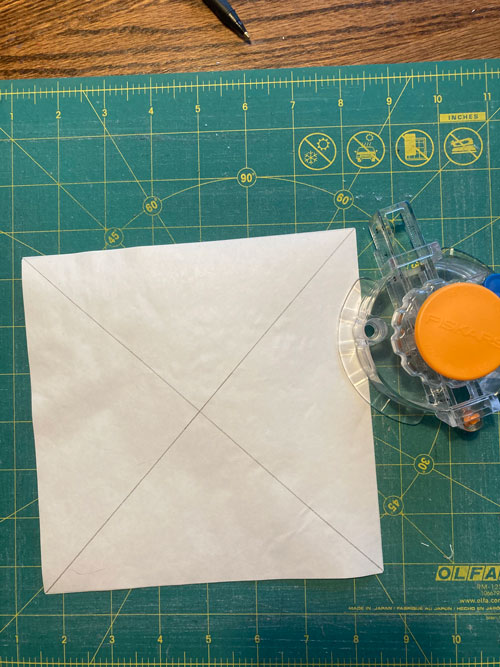
Draw lines diagonally to find the center of the square. Use a compass or a circle cutter to cut out a 3 ½” circle in the middle of the template.
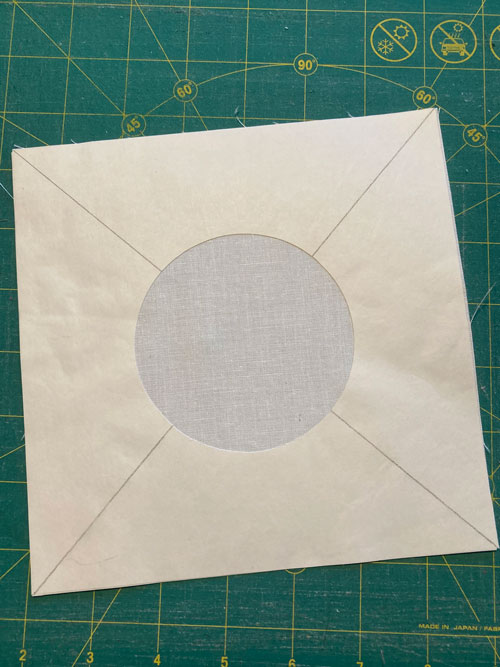
Step 2 – Make Inset Circles
Iron 6 ½” freezer paper with the shiny side to the back side of your background fabric.
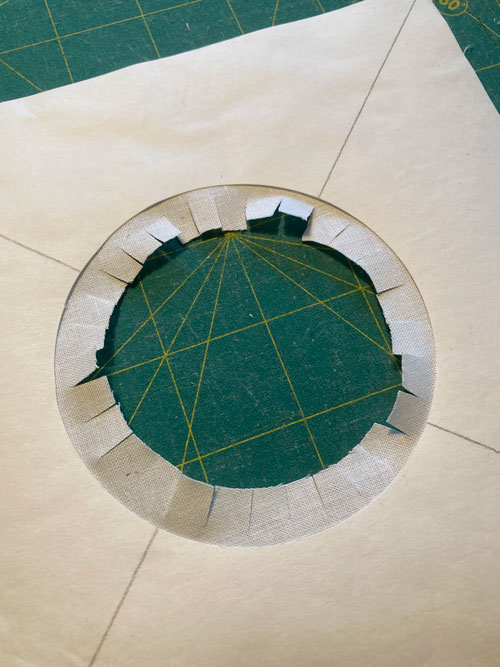
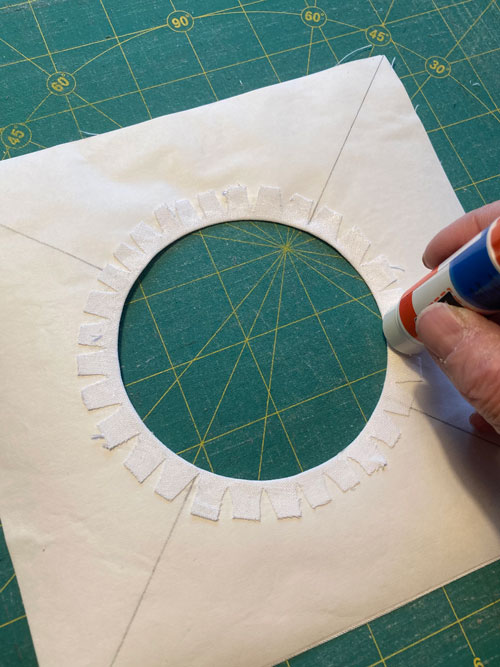
Cut out the center of the circle leaving about ½” of fabric from the template. Clip the seam allowance but stop at ⅛” from the template.
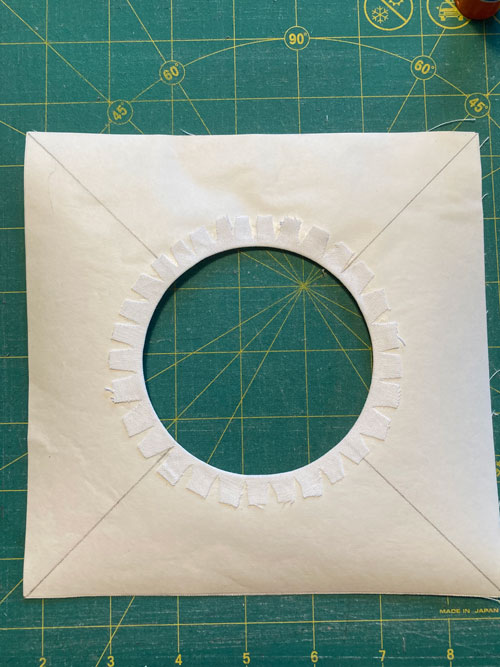
Lightly apply glue to the paper template and fold the background fabric around the inner circle so the glue holds the fabric. It may be helpful to do a couple of inches at a time.
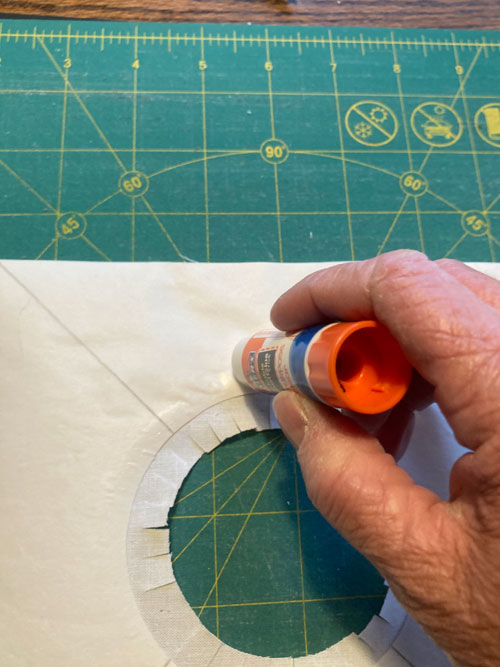
Check the smoothness of the circle. If there are any edges that aren’t smooth enough, peel back the seam allowance and re-glue.
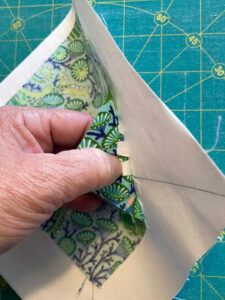
To attach the circle fabric, apply glue to the clipped seam allowance.
Place the circle fabric, right side down, over the glued area. Iron dry.

Carefully peel the background fabric away from the paper. Re-glue any spots of circle fabric that have come apart from the clipped seam allowance.
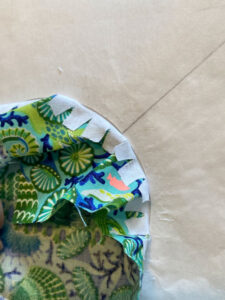
Carefully remove the Freezer Paper.
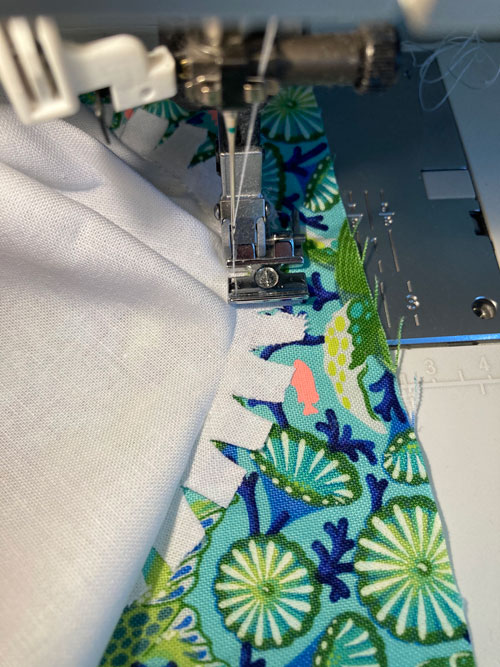
Step 3 – Sew Circle
Stitch in the crease with a zipper foot. If your stitching isn’t smooth, stitch over any uneven seams.
Trim the circle fabric, leaving about ¼” seam allowance.
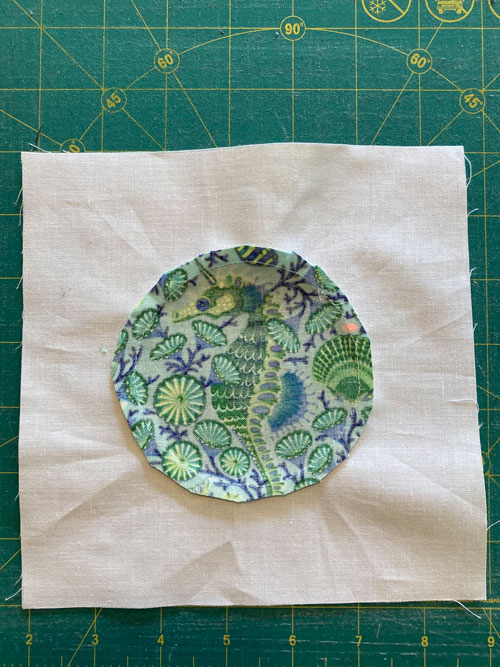
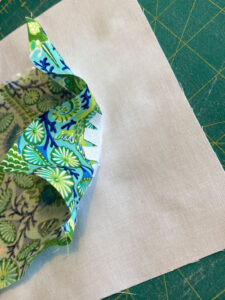
Step 4 – Press
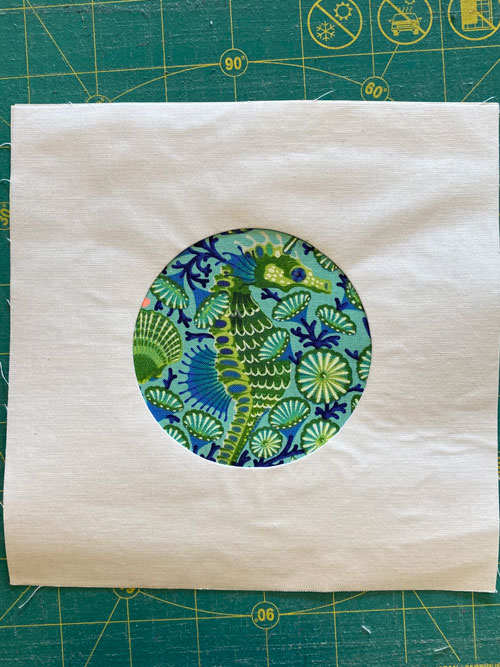
By pressing the circle fabric with the seam allowance out, you achieve a pieced look. If you press the seam in, you’ll get an applique look.

This is a thorough, nicely photographed, tutorial for one of a couple ways to make an inset circle design. Very well done!